
Protective gear is designed to prevent acute trauma, but poor fit and asymmetrical body-borne loads create severe secondary musculoskeletal risks during operational movement.





Protective equipment is a mechanical intervention, not an inert uniform. It reduces direct exposure to blunt trauma, ballistic penetration, thermal extremes, hazardous chemicals, and sharp debris. At the exact same moment, it introduces physical mass, alters joint kinematics, shifts center of mass, and restricts natural ventilation.
Evaluating gear requires looking beyond simple protection ratings. A complete equipment system must manage kinetic and biological hazards while preserving physiological work capacity and dynamic joint mobility. When gear is poorly fitted or unevenly distributed, it introduces secondary musculoskeletal hazards that degrade operational readiness.
Personal protective equipment operates safely only when hazard coverage, structural sizing, mass distribution, and job compatibility function as a unified system. High-level ballistic vests, structural firefighting gear, and tactical belts change the physical cost of everyday movement. Managing this burden requires understanding how external weight interacts with the human frame across extended operational shifts.
Protective gear changes the biomechanics of movement the moment it is put on. The human body maintains balance by keeping its center of mass over a changing base of support. Adding external mass shifts this center of mass, forcing stabilizing muscles to fire continuously to prevent balance loss.
Research on military load carriage identifies body-borne load as a modifiable musculoskeletal injury risk factor. Carrying external mass changes how the trunk, hips, knees, and ankles absorb impact. When mass sits far from the spine, it creates long lever arms that increase torque across the lumbar vertebrae. This forces the spinal erectors and abdominal wall to work harder simply to maintain an upright stance.
The Occupational Safety and Health Administration notes that equipment selection must balance hazard control against the new risks introduced by the gear itself. Adding layers of ballistic material or heavy outer shells reduces flexibility and traps heat. This added bulk increases the energy required to perform routine tasks like walking, climbing, and lifting.
Over time, this mechanical burden alters natural gait patterns. First responders often shorten their stride and increase double-support stance time to maintain stability under heavy gear. These gait adjustments transfer higher impact forces into the knees and lower back. Understanding these mechanical changes helps teams select and configure gear to reduce unnecessary wear on the body.
Carrying heavy duty gear increases both mechanical strain on joints and the metabolic cost of movement. Systematic reviews of military personnel show that musculoskeletal injuries concentrate heavily in the lower back and lower extremities. Carrying loads greater than 25 percent of body weight during sustained movement is linked to higher rates of marching and overuse injuries.
Absolute load refers to the actual weight of the equipment in pounds or kilograms. Relative load measures that equipment weight as a percentage of the user's total body mass. While relative load helps evaluate equipment burden across different body sizes, it does not account for differences in lean muscle mass, joint stability, or cardiovascular conditioning.
A systematic review published in 2026 identified a relative risk of 1.56 for musculoskeletal injuries during load carriage among female personnel compared to male personnel. This difference is largely driven by relative load ratios, equipment sizing mismatches, and structural differences in pelvic width and torso length. When smaller-framed responders carry the same standardized absolute load as larger colleagues, their relative load ratio rises significantly.
Beyond joint mechanics, heavy torso equipment alters basic breathing mechanics. Heavy vests compress the rib cage, restricting chest wall expansion during hard physical work. This restriction reduces tidal volume, forcing respiratory muscles to work harder and accelerating systemic fatigue. First responders looking to build the work capacity needed for these physical demands can review principles in our guide on duty fitness strategies.
Footwear serves as the primary interface between the responder, the carried load, and the ground. Boots must balance impact absorption, ankle support, traction, and sole flexibility. A boot that is too stiff limits natural ankle dorsiflexion, which can cause compensatory stress in the knees and hips.
Traction must match the operating environment. The National Institute for Occupational Safety and Health found that providing workers with highly rated slip-resistant footwear reduced slip-related injury claims by 67 percent. Workers who bought their own shoes without standardized slip ratings did not see this injury reduction. Selecting certified slip resistance for specific surfaces like wet tile or oily concrete prevents sudden fall injuries.
Blisters remain the most common injury associated with walking under load. They develop when heat, moisture, and friction cause the skin layers to separate. Proper boot sizing, moisture-wicking socks, and breaking in new footwear before long shifts are critical steps to protect skin integrity.
Helmets protect against blunt impacts, falling objects, and ballistic fragments, but they also change head and neck mechanics. Adding weight to the head moves the center of mass up and forward, increasing strain on the cervical spine muscles. A loose helmet can slip and block vision during sudden movements. A helmet that is too tight causes pressure points, headaches, and early fatigue, tempting the wearer to loosen or remove it.
Head protection must also work smoothly with eye, ear, and respiratory equipment. Goggle straps or respirator harness clips that sit beneath a helmet shell can create painful focal pressure points on the skull. Selecting low-profile, integrated communication and eye protection preserves safety seals without creating hotspots.
Body armor sizing cannot be judged solely while standing still in a fitting room. Armor must provide ballistic coverage while allowing full movement during dynamic tasks. The National Institute of Justice warns that sizing vests based only on chest circumference or height often creates dangerous gaps or severe mobility restrictions.
A proper armor fit requires a systematic evaluation of panel overlap and length:
The top of the front panel should sit just below the suprasternal notch. This placement shields the heart and great vessels while allowing the neck to flex without driving the panel into the throat. The bottom edge should end roughly two to three finger-widths above the duty belt when standing. This gap prevents the vest from riding up into the throat when sitting or
crouching. The rear panel must cover the spine from the upper thoracic area down to the top of the lumbar curve.
Vests must provide sufficient lateral overlap where the front and back panels meet along the sides of the torso. The National Institute of Justice recommends an overlap of roughly two inches along the mid-axillary line. This overlap prevents gaps from opening when the responder reaches forward, rotates the torso, or bends sideways.
Straps should secure the armor firmly against the body without restricting rib cage expansion. If the armor moves rigidly as a single unit with every minor torso twist, it is likely overtightened. The carrier should allow full, deep diaphragmatic breaths without excessive resistance across the lower ribs.
Armor that fits poorly while standing quickly causes issues when sitting in a patrol vehicle, climbing stairs, or kneeling. Stiff panels that hit the thighs or duty belt push the entire carrier upward, exposing the lower abdomen and choking the neck. Responders recovering from trunk or rib injuries can learn more in our resource on injury prevention and physical recovery.
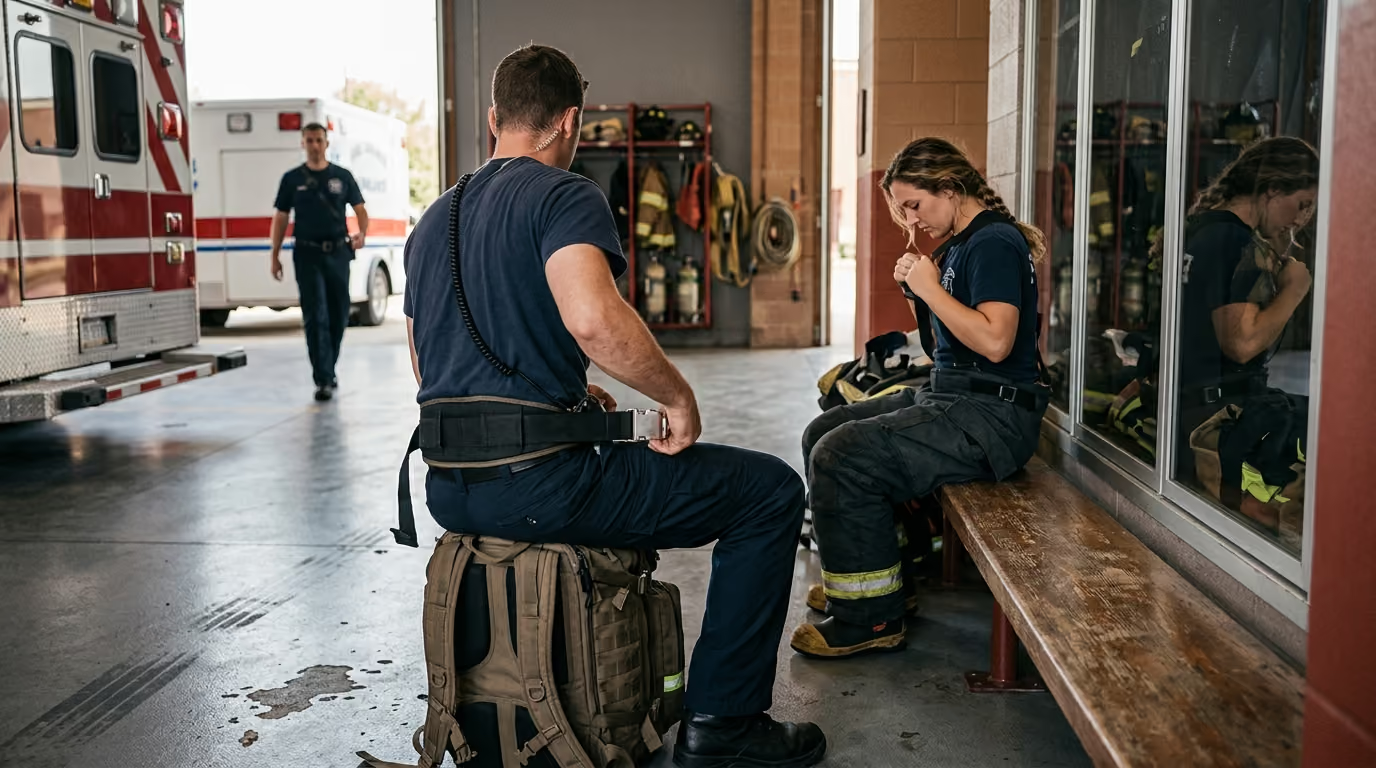
Carrying heavy equipment around the waist or on one shoulder places focused mechanical stress on the pelvis and spine. A fully equipped duty belt often weighs between 15 and 30 pounds. Concentrating this weight on the hips alters pelvic tilt and increases lumbar lordosis.
Placing heavy gear directly over the lateral hips or lower spine can cause nerve irritation. Rigid handcuffs, radios, or baton holders placed over the back of the pelvis can compress the sciatic nerve or lateral femoral cutaneous nerve, leading to pain or numbness down the leg. Distributing weight evenly around the belt and keeping hard gear away from the lower back helps protect these nerves.
Asymmetric medical bags create similar mechanical problems. Carrying a heavy medical bag by one shoulder strap forces the trunk muscles on the opposite side to contract continuously to keep the torso upright. Biomechanical studies show that single-shoulder and hand-carried bags create higher spinal muscle forces, lumbar disc compression, and shear strain than balanced backpacks.
First responders can reduce asymmetric strain by shifting to backpack-style medical bags with supportive hip belts. Keeping heavier supplies, such as diagnostic monitors and fluid bags, close to the back and centered at mid-torso height reduces pulling forces on the spine. Responders managing cumulative physical wear from shift work can find recovery frameworks in our review on career longevity for first responders.
Evaluating equipment requires a systematic process that tests gear under real-world movement rather than relying on a static glance in a mirror. This protocol provides a practical screening process for individuals and departments.
Document the primary physical requirements of the role. Identify expected movement speeds, distances, operating surfaces, and weather extremes. Note how often the role requires climbing, crawling, kneeling, lifting patients, or driving.
Lay out every piece of equipment worn or carried during a shift. This includes base layers, duty footwear, body armor, carrier attachments, belts, radios, holsters, pouches, helmets, eye protection, and specialty bags. Equipment must be assessed as a complete, integrated system.
Record baseline user metrics including body weight, torso length, and chest circumference. Measure the total weight of the complete gear setup. Calculate the relative load percentage by dividing equipment weight by body weight. Note whether gear weight is balanced evenly from front to back and left to right.
Put on the complete gear system while standing. Check that coverage boundaries match safety standards. Verify that the neck, shoulders, and hips move freely without pinching. Take several deep breaths to confirm that chest expansion is unrestricted.
Move through a circuit of representative operational movements:
Evaluate the equipment system under realistic operational wear. Check fit and comfort after extended periods of movement, vehicle operations, or simulated drills in warm environments. Note whether straps slip, panels shift, or hotspots develop as sweat accumulates. Responders managing high workloads can read our guide on training readiness and autoregulation.
Evaluate the gear setup across the key operational categories below. Each category is scored on a scale from 0 to 3:
Any zero score in hazard coverage, gear retention, breathing, or tool access requires an immediate adjustment or redesign of the equipment configuration.
Equipment fitting always involves balancing competing priorities. Maximizing ballistic or thermal protection increases total weight, restricts movement, and raises heat stress. First responders and safety officers must navigate these trade-offs based on operational risk profiles.
Standard gear sizing often fails individuals with shorter torsos, broader hips, or larger chests. Two responders of identical height and weight can have very different limb proportions and center-of-mass locations. Armor and duty belts must adjust to fit different body contours rather than relying on a rigid, one-size-fits-all approach.
Heavy gear layers trap body heat and prevent sweat evaporation. As core temperature rises, the body redirects blood flow to the skin, which can accelerate cardiovascular fatigue. Sweating can also alter gear fit, as wet straps stretch and loosen, causing heavy equipment to shift. Responders working long shifts in extreme conditions can reference the CDC shift-work and fatigue guidance.
Equipment configurations that feel comfortable while standing can create safety hazards inside vehicles. Bulky back-mounted items force the spine into awkward forward angles, while side-mounted gear can catch on seat belts or door frames during rapid exits. Testing gear configurations inside actual response vehicles ensures they do not compromise driving comfort or emergency egress.
Routine fit checks can be performed by individual responders or safety officers, but certain situations warrant clinical evaluation. Persistent pain, numbness, or structural changes indicate that gear is causing tissue overload.
Consult an occupational health specialist, physical therapist, or qualified ergonomics professional when experiencing:
Professional assessments evaluate joint range of motion, muscle strength, and movement patterns under load. An occupational health clinician can recommend specific gear adjustments, custom padding, or harness systems to distribute weight safely while injuries heal. Responders managing ongoing rehabilitation can learn more in our injury recovery resources.
A comprehensive dynamic fit check should be conducted at least once a year, as well as whenever an individual changes gear models, experiences significant changes in body weight, or returns from an extended medical leave. Periodic spot-checks of strap elasticity, buckle integrity, and carrier wear should occur on a monthly basis.
Start by removing unnecessary items to reduce the belt's total weight. Move hard, bulky gear away from the back of the pelvis to avoid direct pressure on the spine and sciatic nerve while seated. Adding a load-bearing vest carrier or a quality suspender system can shift a significant portion of belt weight to the shoulders and upper torso.
Wearing heavy torso armor for years without regular strength training can encourage forward-head posture and rounded shoulders. The body adapts to the anterior weight by shortening the chest muscles and overstretching the upper back muscles. Regular resistance training focusing on the upper back, rear deltoids, and core musculature helps counteract these postural shifts.
Place the heaviest supplies close to the frame so they sit against the mid-back, rather than packing them at the bottom or the outer edge of the pack. Use internal compression straps to secure contents and prevent weight from shifting during sudden movements. Adjust the shoulder straps and hip belt so the load rests comfortably on the pelvis rather than pulling back on the shoulders.
Protective equipment should function as a balanced, dynamic load-carriage system rather than a disconnected collection of individual tools. Fitting gear to match individual body dimensions and movement patterns preserves joint health, reduces fatigue, and supports career-long operational capability.
Stay connected for research-led guidance on duty fitness, shift-work sleep, injury recovery, stress, nutrition and career longevity. Practical ideas for first responders who want to stay capable on the job, recover well and protect their health for the long run.



Read practical guidance on first responder fitness, recovery, sleep, nutrition and resilience for demanding work and a long, active career.
read the blog