
Lifting heavy patients from awkward angles demands active end-range strength and joint mobility to protect first responders from debilitating musculoskeletal injuries.





Most physical training programs for first responders treat stretching and lifting as separate activities. You stretch to become flexible, and you lift weights to become strong.
This division creates an illusion of preparedness. Being able to pull your foot to your glute or touch your toes while relaxed on a mat does not protect you when dragging a victim down a narrow hallway. Passive flexibility only shows what your joints tolerate when an outside force moves them.
True operational resilience requires usable movement capacity. You must be able to reach deep positions, control them under awkward loads, and produce force to move out of them. Building strength at end ranges connects movement capacity directly to the physical realities of emergency service.
First responders do not need extreme, passive flexibility. You need enough joint range to perform your duties, along with the muscular strength to control that range under load.
Sprains and strains account for a major share of occupational injuries in firefighting, law enforcement, and emergency medical services. Passive stretching alone does not reduce these injuries.
To build resilient joints, you must train your body to produce force near the limits of your available motion. A systematic approach follows four steps: access the range, own the position with active control, load the movement progressively, and apply it to duty tasks. If you experience sharp pain, joint swelling, or nerve symptoms, avoid aggressive stretching and adjust your training volume.
Flexibility describes the passive range of motion available at a joint when an external force moves the limb. You can see this when a partner pushes your leg into a stretch or when gravity pulls you into a split.
Mobility is different. Mobility is the range of motion you can actively reach, control, and use during physical work. It combines tissue length with joint structure, motor control, strength, balance, and confidence.
The space between your passive range and your active range is where injuries often happen. If you can passively reach a deep position but cannot produce force there, any sudden shift in load will leave your connective tissues vulnerable.
End-range strength solves this problem by training muscular control at the absolute boundaries of your active movement. It includes several distinct physical capabilities:
Another useful concept is mobility reserve. This is the difference between the range of motion a task requires and your total controllable capacity.
If a low crawl requires 110 degrees of hip flexion and you can only control 110 degrees, you are working at your absolute physical limit. Any unexpected trip or shift in gear will exceed your capacity. Building a reserve of controllable range gives you a safety margin during chaotic, unpredictable tasks.
You can learn more about balancing physical capabilities across a demanding career in our guide to strength, fitness, and duty performance.
Musculoskeletal injuries represent a heavy burden across public safety sectors. According to data from the Centers for Disease Control and Prevention, sprains and strains account for roughly 33% to 41% of all nonfatal occupational injuries among emergency medical personnel, firefighters, and police officers.
The same surveillance data showed injury rates of 8.5 per 100 full-time workers among police officers and 7.4 per 100 full-time workers among career firefighters. Physical demands such as lifting patients, carrying equipment, and navigating irregular terrain drive many of these incidents.
For decades, agencies have prescribed static stretching routines before shifts to reduce these numbers. Modern exercise science shows this approach is flawed.
A systematic review published in the British Journal of Sports Medicine examined exercise interventions across 26,610 participants. The researchers found that stretching interventions had no statistically significant effect on reducing injuries, yielding a relative risk of 0.963.
In contrast, progressive strength training reduced injury risk by more than 68%, showing a relative risk of 0.315. Strength training proved effective for preventing both acute trauma and overuse injuries.
A separate meta-analysis examined whether resistance training could improve flexibility compared to traditional stretching. The analysis revealed that resistance training through a full movement range increased joint range of motion just as effectively as static stretching.
Additionally, systematic reviews show that training through a full, controlled range of motion produces superior muscle growth and strength adaptations compared to partial-range training. Loading a muscle while it is lengthened stimulates strength gains at long muscle lengths.
At the same time, the research urges caution regarding movement screens. A comprehensive systematic review found inconsistent evidence for using movement-quality screens to predict lower-extremity injuries in military, athletic, and emergency service populations.
Similarly, occupational research notes limited evidence connecting general physical fitness test scores directly to injury reduction in first responders. Physical preparation provides usable capacity and movement options, but it cannot guarantee immunity from the hazards of emergency work.
Emergency response places unique demands on the musculoskeletal system that standard fitness routines rarely replicate. You do not work in a climate-controlled gym with balanced barbells and level flooring.
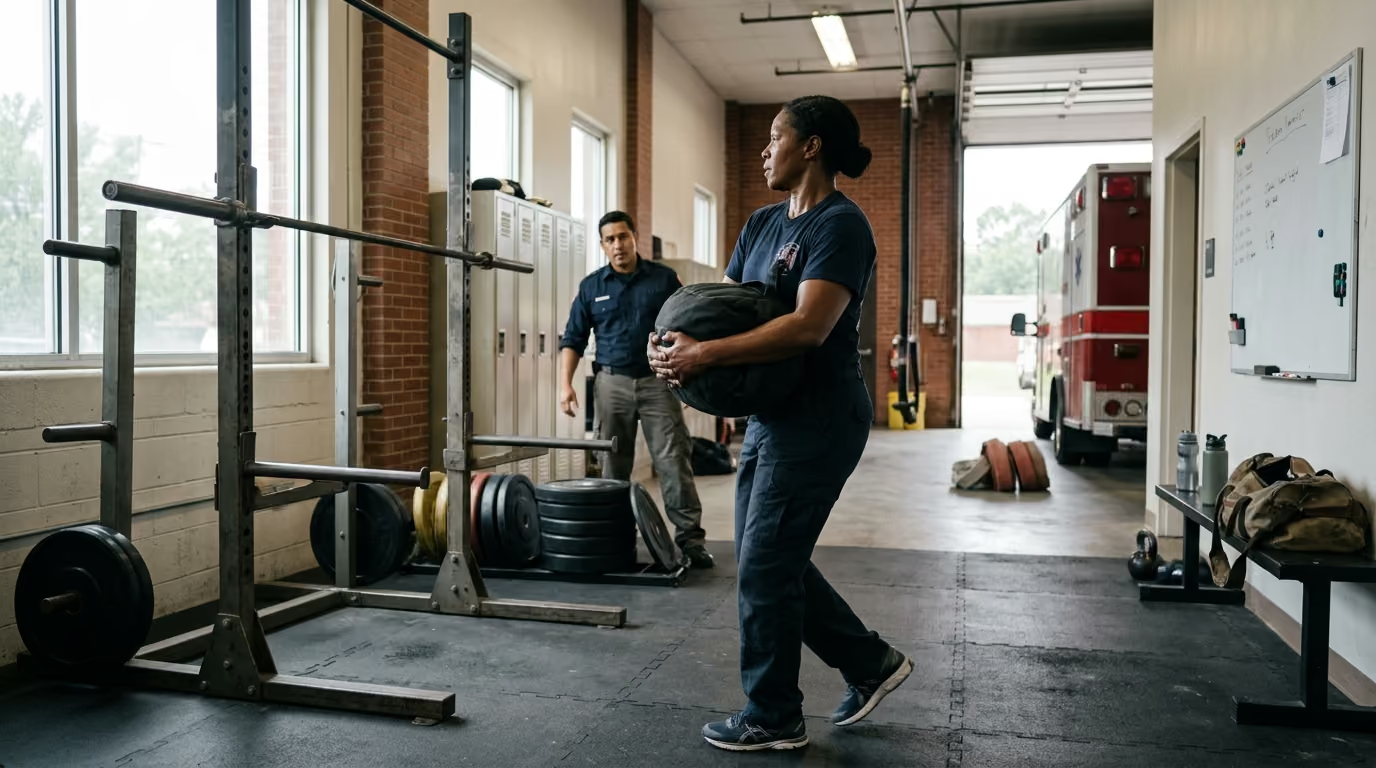
Paramedics and EMTs frequently lift bariatric patients from tight bathrooms, awkward stairwells, or vehicle floorboards. These tasks force the spine, hips, and knees into deep, asymmetrical flexion under heavy, shifting loads.
Firefighters navigate structural environments in full protective gear, adding 45 to 75 pounds of external mass. Crawling through compromised spaces requires extreme hip and ankle dorsiflexion while managing thermal stress and breathing apparatus.
Police officers carry 20 to 30 pounds of duty gear positioned around the waist and torso. Prolonged periods of sitting in patrol vehicles alternate with sudden foot pursuits, fence vaults, or physical confrontations that demand immediate high-force production.
Shift work and sleep disruption make these demands even more challenging. Research indicates that sleep debt and circadian disruption impair motor control, slow reaction times, and increase injury risk among first responders.
When you are fatigued after a busy night tour, your nervous system struggles to stabilize joints at end ranges. Training active control gives your body a buffer against fatigue-induced technical breakdowns.
To manage these demands across your working life, read our overview of career longevity principles.
Building usable movement capacity requires a clear, progressive structure. You should not jump immediately into heavily loaded end-range work. Use this four-step framework to guide your training.
The first step is establishing whether your joint can physically reach the desired position without excessive resistance from passive tissues. You can use dynamic movements, controlled joint rotations, or supported positions to explore your available space.
If you cannot reach a position passively, adding heavy weights will only cause compensations. The goal here is simple: find out where your movement boundaries currently sit.
Once you can reach a position, you must develop active muscular control within it. This requires learning to stabilize without relying on external support, gravity, or passive joint structures.
Use active holds, unassisted position lift-offs, and slow tempo movements to build neural drive at the limit of your range. If you cannot hold a joint angle statically for 10 to 15 seconds, you do not yet own that range.
After establishing control, introduce external resistance. Loading lengthened tissues stimulates connective tissue remodeling and increases motor unit recruitment at vulnerable joint angles.
Begin with moderate loads, slow tempos, and isometric pauses. Dumbbells, kettlebells, sandbags, and cables allow you to adjust the line of force to match your individual joint anatomy.
The final phase bridges gym performance and operational reality. Transfer your end-range strength into multiplanar, asymmetrical, and task-specific movements.
This involves moving from kneeling to standing with awkward implements, lifting objects from staggered stances, and carrying loads after entering deep positions. Duty application trains your brain to trust your physical capacity in unstructured environments.
You can balance these drills with your operational schedule by following our methods for first responder training around shift work.
First responders commonly develop specific movement limitations due to duty gear, vehicle seating, and repetitive physical tasks. Below are targeted progressions for the most frequent operational restrictions.
Restricted ankle dorsiflexion impairs your ability to squat deeply, descend stairs safely, or maintain a stable low crawl. When the ankle cannot flex forward, the body compensates by collapsing the foot arch, twisting the knee inward, or flexing the lower back early.
To perform the front-foot-elevated split squat, place your front foot on a 4-inch platform. Lower your hips slowly over 3 to 4 seconds, allowing your knee to travel past your toes while keeping your heel grounded. Pause for 2 seconds at the bottom before driving back up.
Lifting patients or heavy tools from the ground requires deep hip flexion. Responders who lack active hip flexion round their lumbar spine excessively under load, placing high shear stress on passive spinal tissues.
When practicing the paused goblet squat, hold a kettlebell or dumbbell close to your chest. Descend smoothly into your deepest comfortable squat, maintain tall posture, and hold for 3 seconds without bouncing. Use your hip musculature to stay active rather than resting on your joints.
Hours spent sitting in apparatus seats or patrol cars leave the hip flexors in a shortened state. This limits active hip extension, shortening your stride during runs and forcing the lower back to hyperextend when standing upright under load.
During the rear-foot-elevated split squat, place your rear foot on a bench behind you. Lower your back knee toward the floor while keeping your torso upright and your front glute engaged. Control the descent over 3 seconds to place a loaded stretch on the rear hip flexors.
Wearing body armor or self-contained breathing apparatus restricts upper-back movement. A stiff thoracic spine forces the neck and lumbar spine to rotate excessively during reaching and dragging tasks.
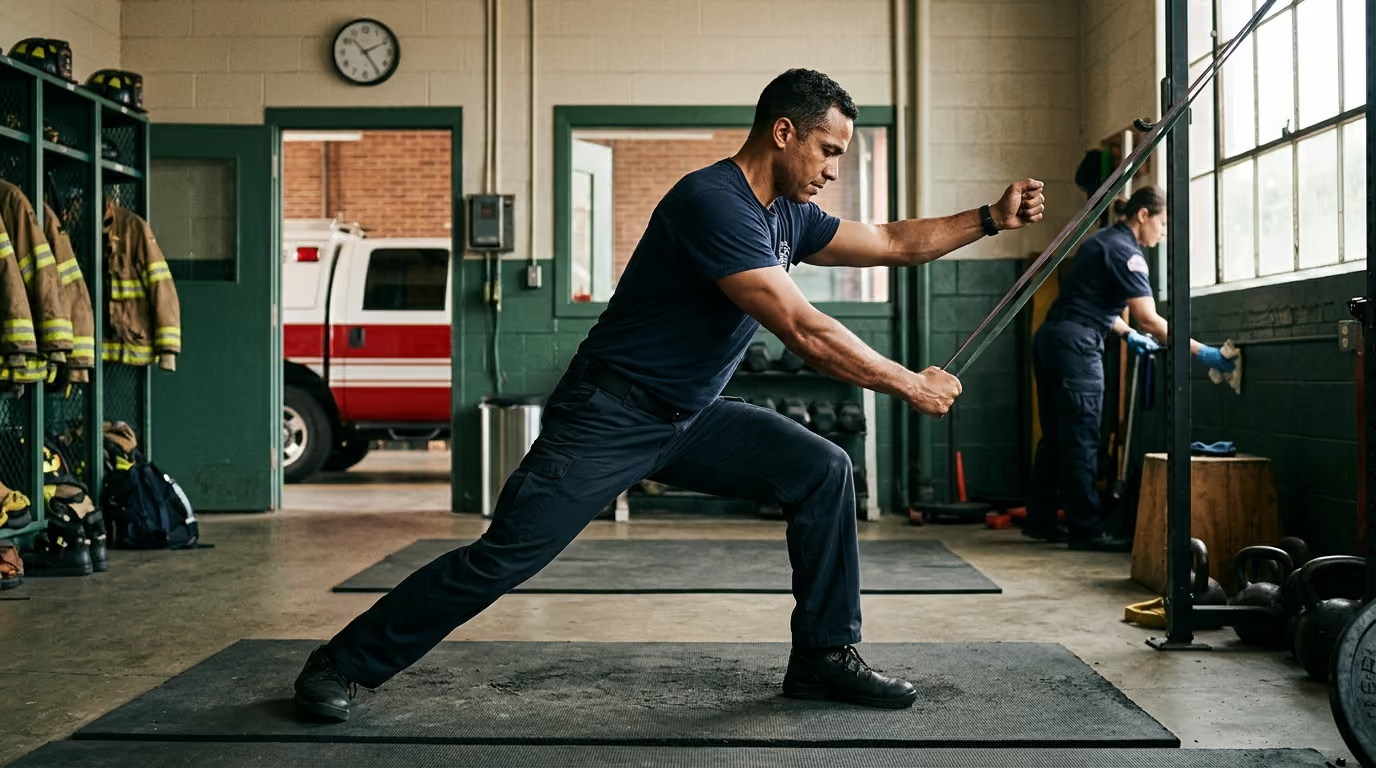
To perform the half-kneeling cable chop, kneel with the knee closest to the machine forward. Pull the cable diagonally across your torso while keeping your pelvis locked in place. Focus on generating rotation strictly through your ribcage and upper back.
Lifting equipment into high vehicle compartments or climbing ladders requires overhead mobility. Responders often compensate for poor shoulder flexion by flaring the ribcage and arching the lower back.
For the half-kneeling landmine press, place one knee down and press the barbell upward along an angled path. At the top, reach through the shoulder blade to establish upward rotation without extending your lower back.
More range of motion is not always better. Forcing joints into painful positions does not build resilience; it produces inflammation and protective muscle guarding.
The American College of Sports Medicine advises that stretching should create tension or mild tightness, not sharp pain. When pain occurs, the nervous system reacts by contracting surrounding muscles to protect the joint, defeating the purpose of the exercise.
Use a simple traffic light system to monitor your training responses:
Never force aggressive stretching under the following conditions:
When dealing with mild flare-ups, adjust your training volume rather than resting completely. You can modify your workout using strategies from our guide to readiness and autoregulation for first responders.
First responders must fit end-range strength work into schedules shaped by night shifts, overtime, and irregular calls. You do not need long daily sessions. A concise, structured approach delivers consistent results.
Below is an example of a three-day training template designed to fit an operational rotation.
If you are on an active shift, shorten these sessions to preserve operational readiness. You can review efficient session design in our article on minimum effective dose training for emergency crews.
Examining common responder profiles helps illustrate how to apply these concepts in the field.
An experienced firefighter has plenty of passive flexibility and can drop easily into a deep squat. However, when wearing 60 pounds of gear and lifting a tool, they cannot rise without shifting weight to one side and rounding their back.
The primary issue is not flexibility; it is active concentric force production from deep hip flexion.
The programming emphasis should focus on paused goblet squats, slow front-foot-elevated split squats, and pin squats. Training force development from the bottom position allows the firefighter to rise smoothly under heavy equipment.
A paramedic reports intense hip tightness and lower back fatigue after spending twelve hours driving and charting in an ambulance. They stretch their hip flexors continuously on shift, but the tightness returns within an hour.
The sensation of tightness here is likely a protective response from prolonged static sitting, paired with weak gluteal muscles and poor hip extension endurance.
Instead of more aggressive static stretching, the paramedic needs active extension training. The program should include half-kneeling glute squeezes, single-leg hip thrusts, and loaded backward sled drags. These movements activate posterior chain musculature and improve tolerance to alternating between sitting and heavy lifting.
A patrol officer experiences shoulder discomfort when reaching into the rear of their cruiser or drawing equipment from awkward angles. Passive stretching aggravates the joint, leaving the arm feeling weak.
This situation requires symptom modification and progressive rotator cuff and scapular loading rather than aggressive stretching.
The training approach temporarily avoids painful end-range reaches. It incorporates supported landmine presses, face pulls, and bottom-up kettlebell carries to build rotator cuff stability. As shoulder control improves, the officer gradually trains reaches under light, controlled resistance.
Do not rely solely on how flexible you feel. Track objective markers over weeks and months to confirm that your movement capacity is expanding.
End-range strength training is a physical conditioning strategy, not a substitute for medical care. You should not attempt to train through structural pathology or progressive neurological symptoms.
Consult a licensed healthcare professional, such as a physical therapist, orthopedic physician, or sports medicine specialist, if you experience:
A qualified professional can identify the underlying cause of your symptoms, provide manual therapy if necessary, and design a progressive rehabilitation plan that prepares you to return to full operational training safely.
Building strength at end range ensures that your physical capacity matches the unpredictable, demanding environments of emergency service. By training active control over passive flexibility, you protect your joints, improve your performance on the fireground or street, and safeguard your health throughout your career.
Stay connected for research-led guidance on duty fitness, shift-work sleep, injury recovery, stress, nutrition and career longevity. Practical ideas for first responders who want to stay capable on the job, recover well and protect their health for the long run.



Read practical guidance on first responder fitness, recovery, sleep, nutrition and resilience for demanding work and a long, active career.
read the blog