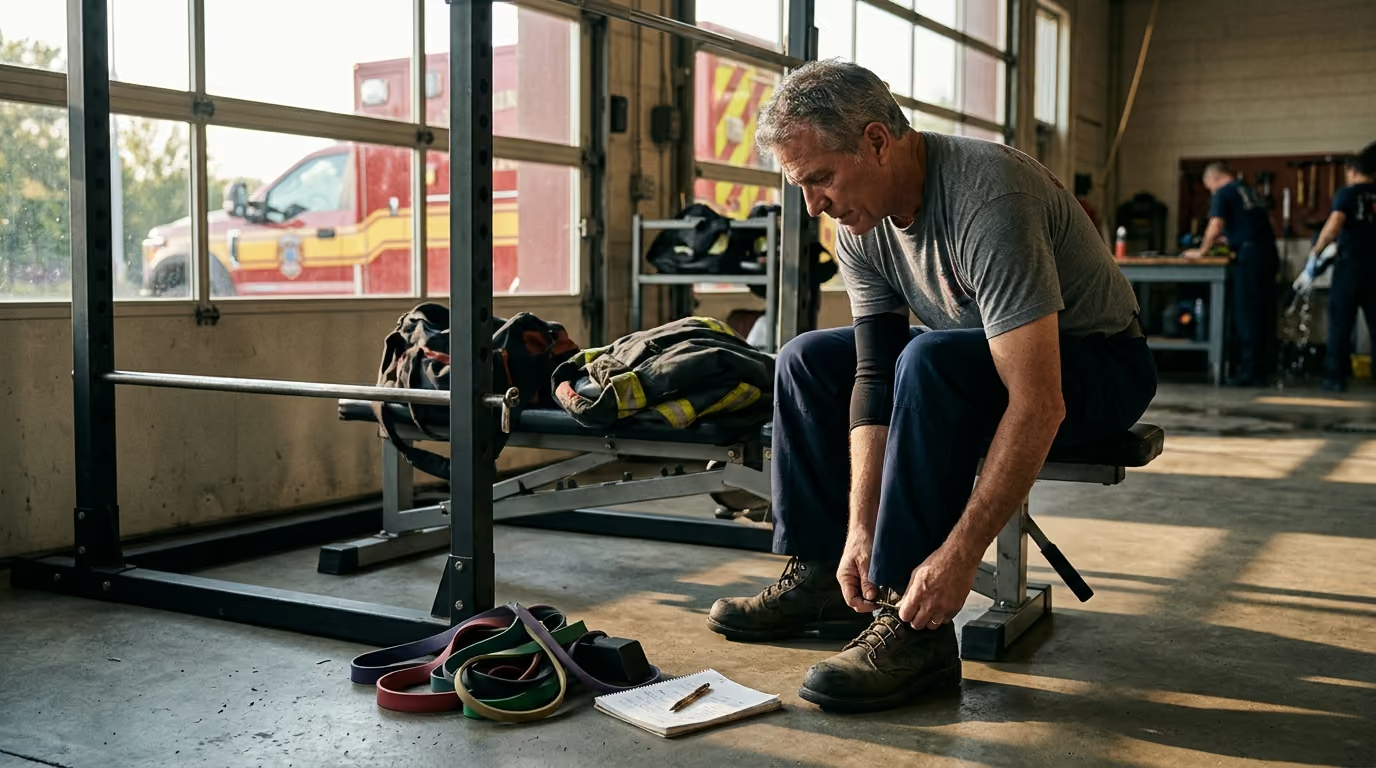
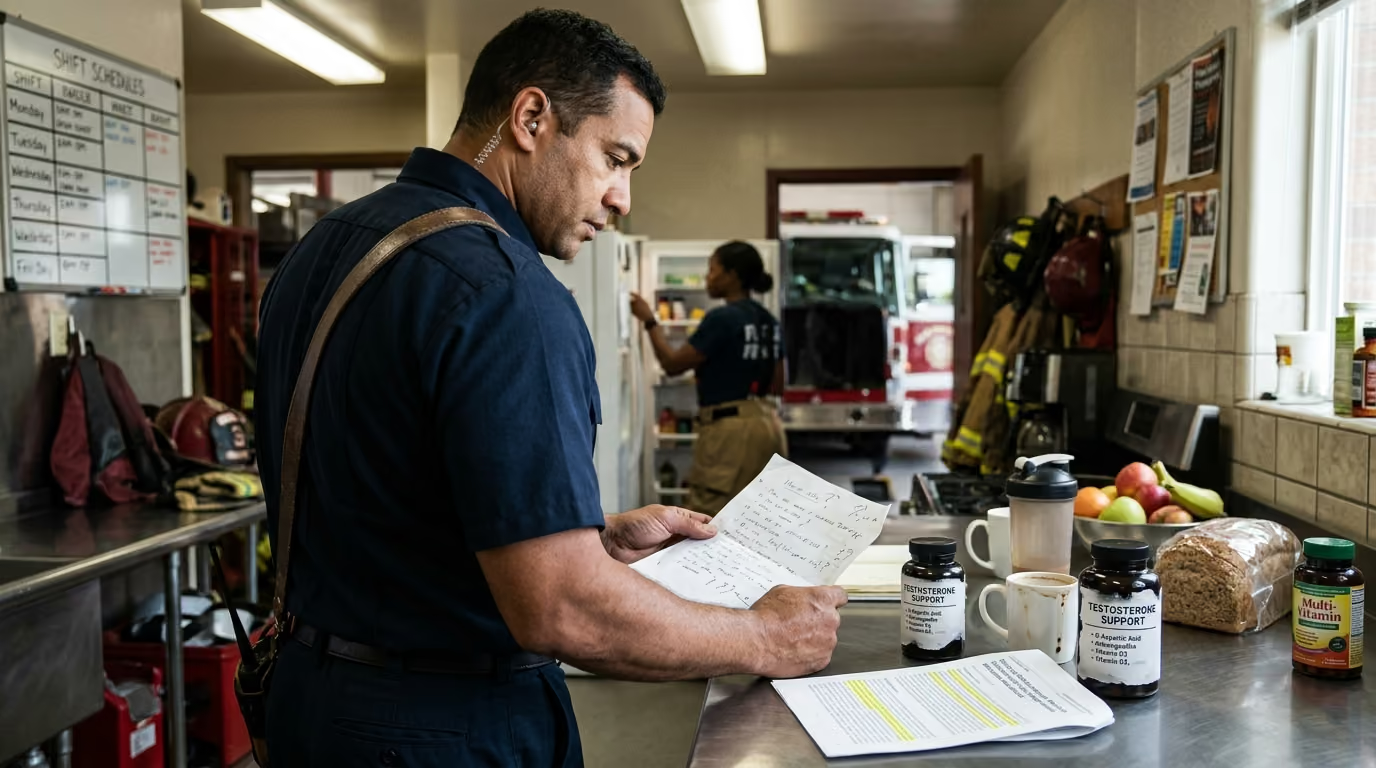
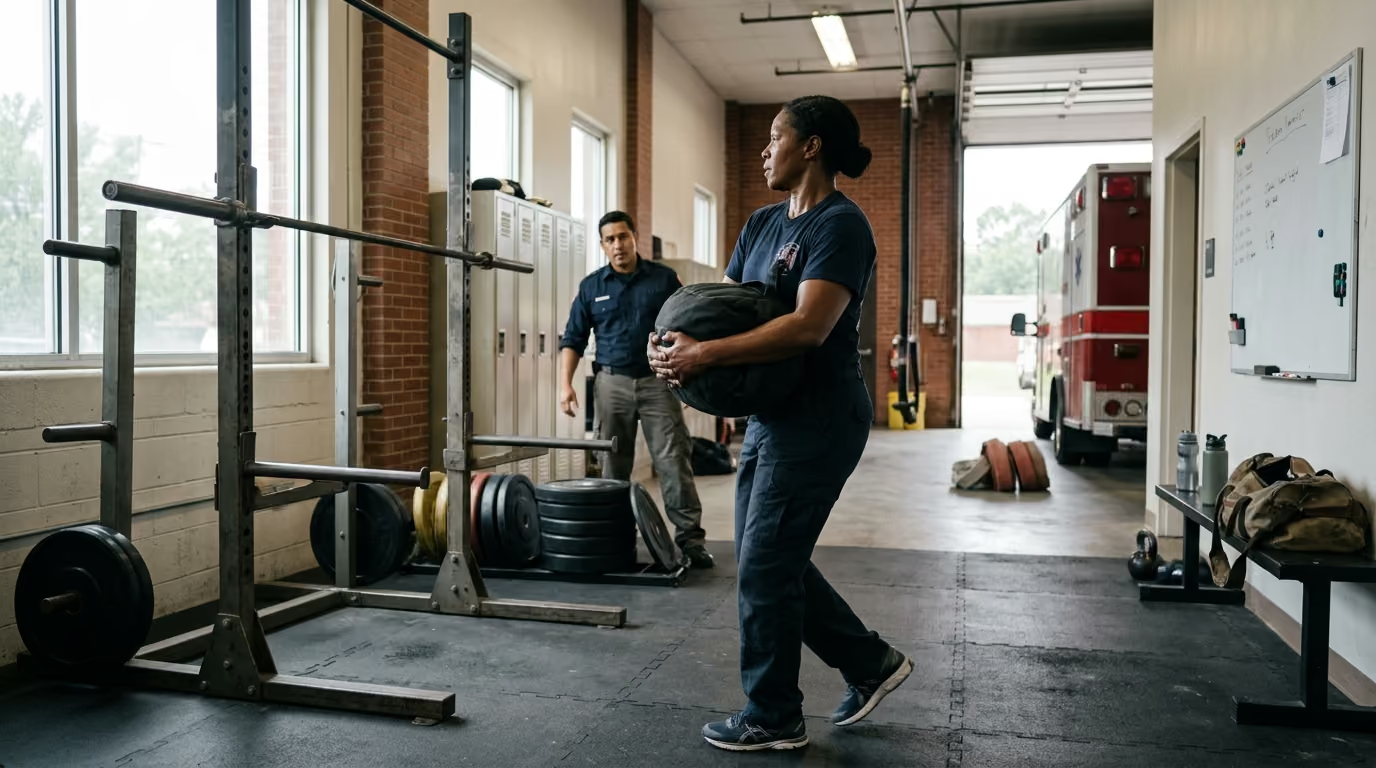
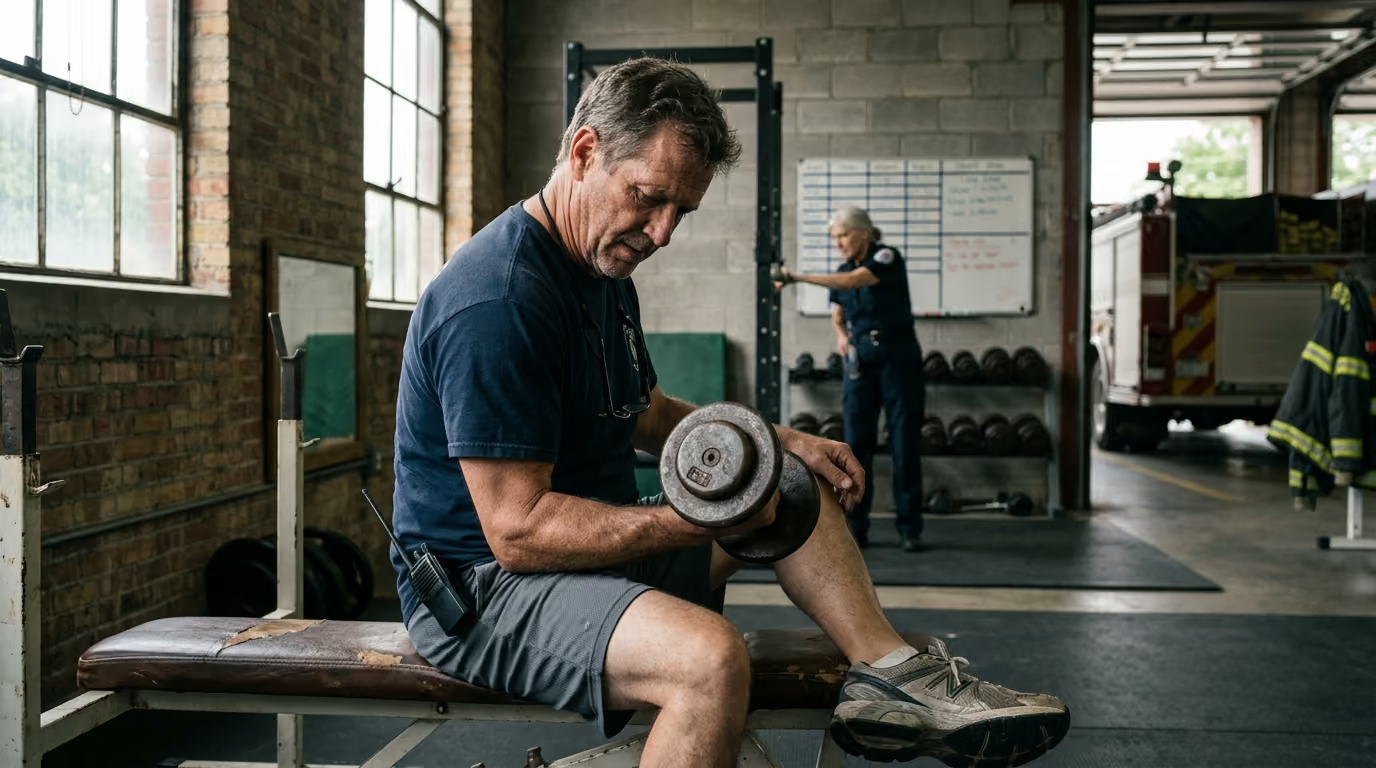
You finish a six-week physical therapy protocol for a torn meniscus or an acute lower back strain. The treating physician signs your medical clearance form, checks the box for full duty, and wishes you luck. You walk into the station gym the following morning feeling caught between two bad options. You could jump straight back into heavy barbell work and full-speed tactical drills, or you could hold back out of fear and watch your physical condition slip further away.
Neither path works. A signed release form is not the same thing as physiological readiness. Healing tissue requires progressively demanding mechanical stress to rebuild its load capacity. Jumping straight into high-intensity training or unpredictable emergency tasks can trigger a rapid symptom flare. Conversely, prolonged rest simply preserves weakness, reduces cardiovascular stamina, and erodes movement confidence.
The solution is a structured return to training. Returning from an injury, extended medical leave, or severe fatigue is an ongoing process of progressive loading rather than a single event on a calendar. By establishing clear baselines, using criterion-based milestones, and tracking how your body responds over a full 24-hour to 48-hour recovery window, you can rebuild real operational capability while protecting your long-term health.
Understanding the Return-to-Training Continuum
In sports physical therapy and occupational rehabilitation, successful recovery relies on progressive stages. The Bern consensus on return to sport established that resuming physical exertion is an ongoing continuum rather than a binary switch. For emergency responders, this continuum spans five distinct milestones that bridge the gap between initial rehabilitation and unrestricted operational readiness.
The Five Milestones of Recovery
- Return to activity: Resuming basic daily tasks, normal walking mechanics, and light physical movement without sharp pain or joint swelling.
- Return to training: Tolerating structured, low-risk physical exercise sessions designed to restore general physical qualities such as aerobic capacity and basic muscular strength.
- Return to participation: Joining modified training sessions, controlled physical drills, or light-duty station assignments that carry strict exposure limits.
- Return to performance: Meeting the specific physical, cardiovascular, and psychological demands required to perform complex job tasks effectively under pressure.
- Return to unrestricted duty: Operating without physical restrictions during unpredictable, high-load emergencies, including forced entry, patient extractions, structural fires, or physical confrontations.
Recognizing these distinctions prevents premature exposure to high-risk environments. A firefighter or police officer might feel comfortable running on a flat treadmill or squatting with light dumbbells in a controlled gym. That same responder may still lack the reactive balance, rotary trunk control, or tissue tolerance needed to drag an unconscious victim down a narrow stairwell in full gear.
- Stage 0: Protect & Maintain
- Stage 1: Basic Movement & Daily Function
- Stage 2: General Strength & Aerobic Base
- Stage 3: Increased Intensity & Occupational Patterns
- Stage 4: Specific Preparation & Controlled Simulation
- Stage 5: Graduated Duty & Supervised Field Exposure
- Stage 6: Full Operational Performance & Maintenance
Key Terms in Load Management
- Capacity: The total amount of physical, physiological, and psychological work you can currently produce and tolerate without injury or extreme fatigue.
- Load: The combined physical and environmental stress placed on your body, including resistance training, cardiovascular work, occupational tasks, sleep deficits, and mental stress.
- Tolerance: How your body responds to a given workload both during the session and across the subsequent 24 to 48 hours.
- Readiness: Your immediate physical and neurological ability to accept and adapt to a planned training session on a given day.
- Resilience: The ability to repeat demanding physical efforts over time without accumulating excessive tissue irritation, systemic fatigue, or movement breakdown.
What the Evidence Shows on Detraining and Tissue Loading
Taking time away from structured physical training causes rapid physiological changes. Understanding how quickly specific physical attributes decline helps set realistic targets when building a return plan.
Cardiovascular and Muscular Detraining Timelines
Cardiorespiratory fitness declines faster than maximal muscular strength. Published research on endurance athletes shows that just two weeks of training cessation can significantly decrease maximal oxygen uptake (VO2max) and cardiac stroke volume. Time to exhaustion during high-intensity exercise can drop by nearly 10 percent within that same two-week window.
Muscular strength tends to remain relatively stable over two to four weeks of rest, particularly in trained individuals. However, maximal power output, rate of force development, and tendon stiffness decline much sooner. When first responders return to duty after a month off, they often retain the absolute strength needed to lift a heavy object, but they lack the rapid deceleration capacity and elastic tolerance needed to catch a falling load or absorb a sudden misstep.
Criterion-Based Progression Over Fixed Timelines
Historical rehabilitation models relied heavily on fixed timelines, such as waiting a specific number of weeks before allowing running or lifting. Modern evidence strongly favors criterion-based progressions. In these systems, an individual advances only when they demonstrate specific physical competencies, stable symptom levels, and adequate movement quality.
For example, international consensus guidelines on hamstring injury rehabilitation recommend basing exercise dosage and running progressions on objective strength, current symptom response, and tolerance to previous training sessions rather than the calendar. Research on knee rehabilitation similarly emphasizes that passing objective physical and psychological readiness tests provides a safer foundation for progression than simply waiting out a standard healing window.
The Limits of Predictive Workload Models
The acute-to-chronic workload ratio (ACWR) gained widespread popularity as a way to predict injury risk by comparing current weekly training load to a rolling four-week average. Contemporary sports science research has challenged this metric. Multiple analyses have shown that mathematical ratios cannot reliably predict individual injury events.
Workload numbers provide context, but they are not crystal balls. Instead of relying on a single mathematical formula, you should monitor multiple physical signals. These include movement quality, tissue response, resting heart rate, sleep duration, subjective fatigue, and the physical demands of your duty shifts.
Operational Demands and the First Responder Context
Standard rehabilitation protocols are typically designed for athletes with predictable schedules or sedentary office workers returning to daily living. First responders operate under physical and environmental demands that fundamentally alter how training loads must be applied and recovered from.
Shift Work and Cumulative Fatigue
Emergency services demand physical performance on irregular schedules. Night shifts, rotating tours, mandatory overtime, and interrupted sleep disrupt natural circadian rhythms and alter tissue healing. Sleep deprivation reduces muscle protein synthesis, blunts hormonal recovery, and increases systemic inflammation, which lowers your physical capacity on any given day.
When returning to training, you cannot treat a rest day following a chaotic 24-hour shift the same as a rest day following eight hours of uninterrupted sleep. You can use a structured shift-work training decision tree to decide when to push forward with a planned progression, when to hold the load steady, and when to prioritize active recovery.
Heavy Equipment and Uncompromising Environments
First responders carry significant external loads that alter joint mechanics and increase metabolic demand. Structural firefighting gear, self-contained breathing apparatus, ballistic vests, duty belts, and medical trauma bags add 30 to 70 pounds of deadweight.
Carrying this gear shifts your center of gravity, restricts normal thoracic spine rotation, and increases ground reaction forces with every step. A return-to-training plan must deliberately condition the musculoskeletal system to tolerate these equipment loads under controlled conditions before you face them during an emergency call.
Unpredictable Physical Demands
Unlike competitive athletes who warm up thoroughly before a scheduled match, emergency personnel must transition from complete rest or prolonged sitting directly into high-intensity physical output. A paramedic may need to perform chest compressions or carry a heavy stair chair after hours of driving. A police officer might sprint across uneven ground and jump a fence without warning.
Rehabilitation must build broad, multi-planar resilience rather than isolated, linear strength. Your physical preparation must account for:
- Lifting and carrying awkward, uncooperative loads from deep floor positions.
- Crawling, kneeling, and rotating under external loads.
- Moving across unpredictable surfaces such as wet grass, debris, or slick stairs.
- Operating under moderate to severe heat stress or reduced visibility.
- Making tactical and clinical decisions while physically fatigued.
The Baseline Assessment Before Reloading
Before adding physical load to an injured or deconditioned body, you need a clear, objective baseline. This assessment establishes what your tissues can handle today, identifies remaining functional deficits, and ensures there are no hidden red flags.
1. Medical and Clinical Status
The baseline assessment begins with clinical clarity. You and your healthcare provider should clearly establish:
- The specific diagnosis and underlying tissue involvement (such as tendon, ligament, muscle, bone, or nerve).
- The current biological stage of healing (inflammatory, proliferative, or remodeling).
- Explicit medical restrictions or contraindicated movements.
- Current medications, particularly those affecting pain perception, heart rate, or blood pressure.
- Whether the interruption was caused by acute trauma, chronic overuse, systemic illness, or central fatigue.
2. Symptom Mapping and Irritability
Record your baseline symptoms in a structured log. Note the exact location, intensity on a 0-to-10 scale, and the mechanical triggers that cause irritation.
Pay close attention to symptom irritability. Highly irritable tissues flare up quickly with minimal loading and take hours or days to calm down. Low-irritability tissues only experience mild discomfort during high loads and settle back to baseline within minutes after the stress stops. Understanding your tissue irritability helps determine the initial exercise dosage and prevents sudden flare-ups.
3. Physical Capacity and Movement Screening
Objective testing should evaluate both general physical capacity and job-specific movement patterns. Depending on the injury, a baseline screen should examine:
- Joint mobility and active range of motion: Comparing the affected limb or spinal segment to the uninjured side.
- Isometric strength: Measuring static force production in neutral, pain-free positions.
- Unilateral control and balance: Testing single-leg stance stability, step-downs, and single-arm pressing or pulling strength.
- Movement quality: Observing basic movement patterns such as the squat, hinge, lunge, push, pull, and loaded carry.
- Aerobic base: Assessing low-impact cardiovascular output via stationary cycling, rowing, or inclined walking.
4. Psychological Readiness
Physical healing does not guarantee psychological confidence. Fear of reinjury, hesitation during rapid movements, and lack of trust in the injured area can alter motor patterns and increase reinjury risk.
Ask yourself candid questions before progressing:
- Are you actively avoiding putting full weight or power through the injured limb?
- Do you feel anxious about lifting heavy equipment or sprinting?
- Can you distinguish between normal, benign training fatigue and a true warning sign?
- What specific job task makes you feel the most vulnerable?
Psychological readiness should be assessed alongside physical milestones. If objective physical capacity is high but movement confidence is low, the solution is not to stop training. The plan should use graded, progressive exposures to challenging movements to safely rebuild movement trust.
The Six-Stage Progressive Return Framework
This six-stage framework provides a clear path from early recovery back to full operational readiness. These stages are not fixed-length weeks. You advance from one stage to the next only when you meet the predefined physical criteria and maintain stable recovery markers.
- Stage 0
- Medical restrictions, cross-education, non-affected limb training, sleep hygiene.
- Stage 1
- Low-load isometrics, walking, gentle range of motion, trunk stability.
- Stage 2
- Bilateral/unilateral resistance, zone 2 conditioning, controlled tempos.
- Stage 3
- Heavier resistance, acceleration/deceleration, stairs, sled pushes, loaded carries.
- Stage 4
- Full gear drills, heavy dummy drags, timed obstacle circuits, combined fatigue work.
- Stage 5
- Light-duty shifts, paired heavy lifting, restricted call types, structured de-briefs.
- Stage 6
- Unrestricted response, ongoing maintenance volume, proactive fatigue management.
Stage 0: Protect, Clarify, and Maintain
The goal of Stage 0 is to protect healing tissue while preventing unnecessary systemic deconditioning across the rest of the body.
- Primary training priorities: Follow all medical restrictions strictly. Train the uninjured limbs and opposite side of the body using cross-education concepts, which help preserve neural drive. Maintain cardiovascular base through low-impact, non-provocative modalities such as a stationary bike or upper-body ergometer.
- Lifestyle support: Prioritize restorative sleep, adequate protein intake, and consistent hydration. Build a structured shift-specific sleep plan to protect your recovery windows during challenging rotations.
- Progression criteria: Acute pain and swelling are under control, medical clearance is established for active movement, and normal daily activities cause minimal symptoms.
Stage 1: Restore Basic Movement and Daily Function
Stage 1 introduces active movement, restores joint mobility, and builds basic muscular activation without overloading the recovering area.
- Primary training priorities: Perform low-load isometric holds in mid-range positions to stimulate tendon and muscle tissue without joint irritation. Reintroduce unloaded, full-range movement patterns such as bodyweight squats, gentle hinge patterns, and active stretching. Add flat-ground walking and core stabilization drills.
- Loading parameters: Low intensity (RPE 3 to 4 out of 10), short durations, and high movement quality. Focus on motor control and smooth mechanics rather than burning calories or chasing fatigue.
- Progression criteria: Normal, symmetrical walking gait without a limp, full or near-full active range of motion, and baseline symptoms that return to normal within two hours following a session.
Stage 2: Rebuild General Strength and Aerobic Capacity
Stage 2 restores baseline muscular strength, tissue capacity, and aerobic stamina in a controlled environment.
- Primary training priorities: Introduce progressive resistance training using bilateral and unilateral movements. Focus on controlled movement tempos, such as a three-second lowering phase, to build tendon resilience and muscle control. Rebuild your aerobic foundation using steady-state cardiovascular exercise to support recovery between heavy calls.
- Loading parameters: Moderate loads (60 to 75 percent of estimated capacity), 8 to 12 repetitions per set, keeping 2 to 3 reps in reserve. Apply a structured minimum effective dose training approach to stimulate physical adaptation without creating overwhelming muscular soreness.
- Progression criteria: Symmetrical strength markers (within 10 to 15 percent of the uninjured side on standardized tests), tolerance of moderate-duration aerobic work, and zero next-day joint swelling or stiffness.
Stage 3: Increase Intensity and Introduce Occupational Patterns
Stage 3 bridges the gap between basic fitness and the physical demands of emergency operations by increasing movement speed, resistance, and complex loading patterns.
- Primary training priorities: Introduce heavier resistance training, controlled acceleration and deceleration mechanics, multi-directional lunges, sled pushes, sled drags, and farmer carries. Begin training specific operational movement patterns, including floor-to-stand transitions, awkward object lifting, and stair climbing.
- Loading parameters: Higher resistance (75 to 85 percent capacity), lower repetitions (4 to 6 reps), and moderate movement speeds. Introduce basic operational clothing or light weighted vests (10 to 20 pounds) during conditioning intervals.
- Progression criteria: Ability to perform dynamic deceleration and multi-directional cutting drills without pain or hesitation, stable next-day joint response to heavy loads, and solid movement mechanics under elevated heart rates.
Stage 4: Specific Preparation and Controlled Simulation
Stage 4 tests your physical and psychological readiness through simulated duty tasks under controlled, repeatable conditions.
- Primary training priorities: Execute job-specific task sequences while wearing full protective equipment. Firefighters perform equipment-loaded stair climbs, charged hose advances, and weighted dummy drags. Law enforcement officers perform rapid sprint-to-restraint drills and obstacle clearances. Paramedics perform extended kneeling CPR compressions and loaded stretcher carries over uneven ground.
- Loading parameters: Match operational intensities with planned rest periods. Introduce mild cognitive tasks or communication drills while physically fatigued to simulate real-world emergency scenes.
- Progression criteria: Successful completion of all occupational simulation drills at duty speed without compensatory movement patterns, symptom flares during the drill, or excessive next-day physical exhaustion.
Stage 5: Graduated Duty and Supervised Exposure
Stage 5 transitions you back into the operational environment with structured administrative safeguards and clear workload boundaries.
- Primary training priorities: Return to modified station duties, shorter shift blocks, or light-duty apparatus assignments. Pair up with experienced crew members for heavy lifting tasks and avoid mandatory overtime or consecutive 24-hour shifts during this initial window.
- Safety controls: Establish explicit agreements with station officers and crew members regarding physical limitations. Schedule formal check-ins after every operational shift to assess joint status, systemic fatigue, and overall recovery.
- Progression criteria: Consistent tolerance of moderate shift volumes across two to four weeks without symptom regression, movement apprehension, or lingering physical exhaustion.
Stage 6: Full Operational Performance and Maintenance
Stage 6 marks the return to unrestricted emergency response and long-term athletic development.
- Primary training priorities: Resume full operational duties, including high-risk, unpredictable calls and normal shift rotations. Shift your training focus from active rehabilitation to long-term physical resilience, power development, and injury prevention.
- Long-term maintenance: Keep the key corrective exercises, mobility drills, and targeted strengthening movements that helped you recover as permanent components of your warm-up and training routines. Balance your physical workload against shift stress using sustainable career longevity strategies.
Rules for Progressing Load Safely
Rushing load progressions is the leading cause of secondary setbacks. Follow these evidence-based rules to ensure your tissues adapt safely as you increase the physical demands of your training.
1. The Single-Variable Rule
Never increase volume, intensity, movement speed, and task complexity at the same time. Adjust one primary training variable at a time while keeping the others steady.
- If you increase the external weight on a lift, keep the total sets and repetitions the same.
- If you introduce operational gear or a weighted vest, reduce the training speed and duration.
- If you introduce sprinting or rapid changes of direction, reduce the overall training volume for that session.
2. The 24-Hour Recovery Check
How your body feels during a workout only tells part of the story. Tendons, articular cartilage, and spinal discs often respond to excessive loading hours after the session ends.
Evaluate your status using a simple three-point check:
- During the session: Discomfort should remain mild (at or below a 3 out of 10), localized, and non-sharp.
- Immediately post-session: Symptoms should settle back to baseline levels within 60 to 90 minutes.
- The next morning: You should wake up without noticeable joint stiffness, swelling, or reduced active range of motion compared to the previous day.
If your morning check reveals increased stiffness, swelling, or pain, your previous session exceeded your current tissue capacity. Keep the training dose steady or scale it back slightly until your next-day response stabilizes.
3. Progressive Density and Rest Periods
When preparing for operational duty, building work capacity is just as important as lifting heavy weight. Progress your training density by gradually reducing rest periods between sets of moderate-load compound movements. This conditions your cardiovascular and muscular systems to clear metabolic waste and maintain movement quality while fatigued.
Managing Setbacks and Daily Monitoring
Setbacks are a normal part of the rehabilitation process. Experiencing an increase in symptoms does not mean you have destroyed healing tissue or restarted your recovery timeline from zero. It simply means your applied load exceeded your current capacity.
The Traffic Light Monitoring System
Use this straightforward daily monitoring system to interpret your body's feedback and adjust your training plan accordingly.
- GREEN: Stable symptoms (0-2/10), normal sleep, good movement quality.
- Action: Proceed with planned progression or maintain load.
- YELLOW: Mild symptom increase (3-4/10), morning stiffness, fatigue.
- Action: Hold load steady, reduce speed, or add recovery day.
- RED: Sharp pain (5 /10), joint swelling, weakness, numbness, limp.
- Action: Stop training, return to prior safe stage, get checked.
Green: System Stable
- Physical signs: Pain remains between 0 and 2 on a 10-point scale, joint range of motion is normal, sleep quality is solid, and movement feels confident and smooth.
- Action: Proceed with your planned training session or make a small, progressive increase in volume or intensity.
Yellow: System Strained
- Physical signs: Mild symptom flare (3 to 4 out of 10) that lingers for several hours, minor morning joint stiffness that takes 20 minutes to loosen up, or elevated resting heart rate and noticeable fatigue.
- Action: Do not progress the workload. Hold the current training variables steady, reduce movement speed, drop external resistance by 15 to 20 percent, or insert an extra active recovery day.
Red: System Overloaded
- Physical signs: Sharp, stabbing, or escalating pain (5 or greater out of 10), noticeable joint swelling, muscle weakness, neurological symptoms such as tingling or numbness, or a return to an altered walking gait.
- Action: Stop the aggravating exercise immediately. Return to the last clearly tolerated training stage and consult your physical therapist or physician if symptoms fail to resolve within 48 hours.
Step-by-Step Setback Protocol
When you encounter a yellow or red response, follow these steps to recalibrate your training safely:
- Identify the trigger: Review your training and work log for the preceding 48 hours. Did you add weight, increase speed, perform an awkward lift on shift, or sleep poorly?
- De-load the specific tissue: Drop back to the last training volume and intensity that you tolerated without symptoms.
- Maintain non-provocative work: Continue training unaffected body parts and performing low-impact cardiovascular exercise to maintain your physical base and mental momentum.
- Reintroduce the trigger gradually: Once symptoms settle back to baseline for three consecutive days, reintroduce the challenging movement pattern with a 30 to 50 percent reduction in speed, volume, or load.
- Avoid doubling up: Never attempt to make up missed workouts by performing double sessions or adding extra sets to your next training day.
Practical Return-to-Training Case Patterns
Reviewing real-world recovery scenarios helps illustrate how to apply these staging principles across different injuries and operational demands.
Case 1: Knee Meniscus Tear in a Firefighter
- The scenario: A 38-year-old firefighter spent six weeks off shift following an arthroscopic partial meniscectomy. Basic physical therapy restored joint range of motion, but deep squatting and stair climbing under load caused knee stiffness.
- The progression plan: In Stage 2, the responder focused on box squats with a controlled tempo, step-ups to a low platform, and steady-state stationary cycling. Once next-morning joint swelling was completely absent, Stage 3 introduced walking lunges, sled drags, and stair climbing on an incline machine. Stage 4 progressed to timed stair climbs while wearing a 40-pound weighted vest and dragging a rescue dummy across the station apron.
- The outcome: The firefighter demonstrated symmetrical single-leg landing mechanics and completed an intensive work-capacity simulation without next-day effusion, clearing the path for an unrestricted return to shift.
Case 2: Hamstring Strain in a Police Officer
- The scenario: A patrol officer sustained a moderate hamstring strain during a foot pursuit across an uneven field, resulting in four weeks away from intense running.
- The progression plan: Initial training emphasized pain-free isometric hamstring bridges and seated leg curls. In Stage 2, Romanian deadlifts and Nordic hamstring lowers were added to rebuild eccentric strength at longer muscle lengths. Stage 3 avoided maximal sprinting initially, focusing instead on progressive acceleration drills from a standing start up to 75 percent speed. Stage 4 introduced rapid deceleration drills, sudden changes of direction, and obstacle vaults while wearing a full duty belt and body armor.
- The outcome: Progressive sprinting exposure rebuilt tissue tolerance and restored confidence, preventing the recurrent strains that commonly happen when officers sprint without adequate preparation.
Case 3: Lumbar Disc Flare in a Paramedic
- The scenario: A paramedic experienced an acute L4-L5 disc protrusion while transferring an obese patient from a bed to a stretcher, causing lower back spasms and radiating buttock discomfort.
- The progression plan: Stage 1 prioritized walking programs, McGill Big Three core stabilization exercises, and hip mobility drills. Stage 2 rebuilt foundational hip hinge mechanics using trap bar deadlifts from elevated blocks, goblet squats, and unilateral suitcase carries to develop lateral trunk stiffness. Stage 3 progressed to awkward object lifting using sandbags, uneven farmer carries, and patient transfer simulations with weighted slide boards. Stage 4 tested prolonged kneeling positions and awkward-angle lifting under mild cardiovascular fatigue.
- The outcome: By focusing on spinal stiffness, hip power, and proper lifting mechanics, the paramedic eliminated radiating symptoms and safely resumed high-call-volume ambulance shifts.
Common Return-to-Training Mistakes
Avoid these common misconceptions that can compromise your recovery and stall your physical progress.
1. The Calendar Trap
Assuming that a specific number of weeks guarantees full functional recovery is dangerous. Biological healing provides the foundation for rehabilitation, but time alone does not restore neuromuscular control, rate of force development, or movement confidence. Base your training progressions on objective functional criteria rather than dates on a calendar.
2. The Pain-Free Fallacy
Believing that you must be 100 percent pain-free before starting any structured training often leads to prolonged deconditioning. Light, controlled discomfort (at or below a 2 to 3 out of 10) is normal and safe during tendon, muscle, and ligament remodeling, provided it settles quickly and does not worsen over time. Conversely, the absence of pain does not prove an area is ready for maximal ballistic power or unpredictable high-load tasks.
3. Relying Solely on Strength Symmetry
Measuring limb symmetry through isolated strength tests is a standard rehabilitation metric, but it does not tell the whole story. An athlete or first responder might achieve 95 percent symmetry on a single-leg extension machine while still showing significant movement compensations during a dynamic landing or loaded carry. Isolated strength testing must be paired with dynamic movement screens and fatigue-tolerance drills.
4. The Single Maximal Test Illusion
Passing an annual physical agility test or completing one hard gym session does not prove you are ready for the daily grind of emergency service work. First responder operations require repeated physical efforts with incomplete recovery across long, sleep-deprived shifts. Your return plan must confirm your ability to recover from demanding physical bouts across multiple consecutive days.
Clear Communication Across Your Care Team
A successful return to full operational capability requires transparent communication among you, your treating healthcare providers, and your agency supervisors.
- Recovering First Responder
- Clinical Team Operational Team
- • Treating Physician • Station Officer
- • Physical Therapist • Training Division
- • Athletic Trainer • Department Safety
How to Talk to Your Physician and Physical Therapist
Vague medical clearance statements such as "return as tolerated" or "avoid heavy lifting" leave responders without actionable guidance. Ask your clinical team specific, functional questions to define clear training boundaries:
- "What are my specific tissue restrictions regarding range of motion, external load, and movement speed?"
- "What objective physical criteria do I need to meet before I begin running, jumping, or carrying heavy gear?"
- "What specific symptoms indicate that I should stop an exercise immediately versus a normal remodeling response?"
- "Can we design my final rehabilitation stages around my actual job tasks, such as dragging 180-pound loads and climbing stairs in full gear?"
How to Coordinate With Supervisors and Training Officers
Maintain an open dialogue with your station officers and department safety staff. Presenting a structured, criterion-based plan shows professionalism and helps supervisors plan modified staffing assignments effectively:
- Share clear documentation outlining your current operational capacity and specific physical restrictions.
- Establish clear timelines for upcoming clinical reassessments.
- Request specific, modified duty assignments that match your current rehabilitation stage, such as driving, administrative support, or structured training drills.
- Clarify how unexpected high-demand emergency calls will be handled if you are operating on a graduated duty status.
When Professional Medical Evaluation Is Required
While progressive reloading is effective for common musculoskeletal strains and deconditioning, certain clinical signs require immediate medical evaluation rather than self-directed exercise.
Critical Red Flags
Stop all training and seek an immediate medical evaluation if you experience any of the following symptoms:
- Neurological signs: Progressive muscle weakness, loss of bowel or bladder control, numbness in the groin or saddle area, or severe shooting nerve pain down both legs.
- Structural and joint instability: A feeling that a joint is actively buckling, locking, or shifting out of place, or rapid, unexplained joint swelling within two hours of a minor twist.
- Cardiovascular and systemic symptoms: Unexplained chest pressure, pain radiating to the jaw or left arm, severe shortness of breath at rest, dizziness, fainting spells, or an abnormally irregular heart rate during light exertion.
- Infection and systemic illness: Joint pain accompanied by fever, chills, open wound drainage, or localized redness and heat over a surgical site.
- Suspected bone fracture: Inability to bear weight for four consecutive steps, severe pinpoint bone tenderness, or significant visible deformity following trauma.
Working through these red flags does not build mental toughness. It leads to serious medical complications, long-term disability, and compromised crew safety.
Sustainable Capability and Career Longevity
Returning to training after an injury is not about rushing back to your previous personal records or proving your toughness to your crew. It is about rebuilding tissue capacity, movement quality, and physical resilience so you can perform your duties reliably without fear of reinjury.
By treating your recovery as a progressive continuum, monitoring your 24-hour response to physical load, and integrating job-specific movement patterns into your training, you build a durable physical foundation. When you respect the biology of tissue healing and match your training loads to your operational reality, you protect your capability on shift and your health long after your career in emergency services is complete.
When to revisit this resource: Review these staging criteria and load management rules whenever you are recovering from an acute injury, stepping back onto shift after extended medical leave, or planning a structured return to physical training following an off-season or prolonged period of operational fatigue.
Building career-long physical resilience is an ongoing process of smart loading, honest self-assessment, and consistent recovery habits.
Sources
- 2016 Consensus statement on return to sport from the First World Congress in Sports Physical Therapy, Bern
- 2016 Consensus statement on return to sport
- London International Consensus and Delphi study on hamstring injuries part 3: rehabilitation, running and return to sport
- The utility of psychological readiness scales in predicting return to ...
- 50 Years of Research on the Psychology of Sport Injury - PMC
- Two weeks of detraining reduces cardiopulmonary function and ...
- Cardiorespiratory and metabolic consequences of detraining in ...
- Return to Sport After Revision Anterior Cruciate Ligament ... - PubMed
- What Role Do Chronic Workloads Play in the Acute to ...
- Analyzing Activity and Injury: Lessons Learned from the Acute:Chronic Workload Ratio