
Preparing for a first responder physical ability test demands a phased conditioning model that develops specific work capacity and prevents academy overuse injuries.





A physical ability test is an occupational readiness assessment, not a generic gym challenge or a test of sheer willpower. It measures whether your body can perform demanding, sequential tasks under physical stress without compromising safety or operational capability. It is not an athletic exhibition where single-lift personal records or sprinting speed matter in isolation.
Preparing for an emergency service test requires a systematic approach. You need to develop baseline aerobic capacity, strength, power, and grip endurance, then convert those capacities into job-specific movements such as dragging, carrying, and climbing. This guide details the research on test performance and injury prevention, outlines a five-phase preparation model, details event-specific conditioning, and explains how to taper so you arrive healthy on testing day.
A physical ability test (PAT) requires a progressive training plan built across months rather than last-minute high-intensity conditioning. The most reliable way to pass is to establish baseline aerobic fitness and muscular strength first. Once that foundation exists, you can layer on specific job-task simulations, controlled equipment familiarization, and structured pacing. Cramming workouts in the final four to six weeks sharply raises your risk of musculoskeletal injury without producing the necessary cardiovascular or structural adaptations.
Musculoskeletal injury rates during emergency service recruitment and academy training remain high. Research across tactical occupations demonstrates that physical fitness before entry directly correlates with performance and injury risk. However, fitness is not a universal shield. The relationship between physical capability, workload, and tissue tolerance is nuanced.
In law enforcement research, baseline cardiorespiratory fitness consistently predicts trainee durability. A prospective study on police recruits found that higher baseline aerobic fitness significantly lowered injury incidence. Each single-stage increase on the multi-stage fitness test was associated with roughly a 20 percent reduction in musculoskeletal injury risk. Another study found that lower aerobic test scores were negatively correlated with recruit injury rates during academy training. Candidates entering academy environments with low aerobic capacity struggle to recover from repeated daily bouts of physical activity.
Upper-body muscular endurance and grip strength also correlate with recruit outcomes. A retrospective cohort study evaluating police academy recruits found significant differences in push-up performance and right-hand grip strength between recruits who sustained injuries and those who remained uninjured. The same study revealed that vertical jump performance differed between recruits with and without lower-limb injuries. A systematic review of law enforcement testing noted that candidates in the lowest tier of push-up performance experienced over seven times the injury rate of candidates in the highest tier. These findings reflect broader associations in specific populations, showing that balanced physical development protects against high-volume duty demands.
A systematic review and meta-analysis of tactical trainees reported a combined injury-risk ratio of 2.34 for low-fitness individuals compared to high-fitness peers. Trainees with poor baseline conditioning were more than twice as likely to sustain a training-related injury. The meta-analysis emphasized that running, marching, and loaded locomotion comprise a large share of tactical physical demands. When general tissue tolerance is low, repetitive impact combined with external loads quickly overwhelms unconditioned connective tissues.
Firefighting research demonstrates similar demands across strength, power, and metabolic conditioning. Fireground operations require high levels of cardiovascular output, muscular endurance, and awkward-posture tolerance. Strength and conditioning research indicates that abdominal strength, lower-body power, and upper-body endurance are essential for carrying loads between 22 and 68 kilograms. While higher fitness supports better test outcomes, physical testing measures only current capability. It does not replace gradual workload management during preparation.
There is no single universal physical ability test across public safety agencies. Reviews confirm that standardized assessments capable of predicting occupational performance across all tactical specialties do not exist. Test configurations, time caps, and scoring systems vary widely between fire service, law enforcement, and emergency medical services.
The Candidate Physical Ability Test, developed jointly by the International Association of Fire Fighters and the International Association of Fire Chiefs, is a widely recognized standard in the fire service. The CPAT consists of eight sequential events performed in continuous succession while wearing a 50-pound weighted vest to simulate standard protective equipment:
Candidates must complete the entire sequence in 10 minutes and 20 seconds or less. Running between stations is prohibited, making steady pacing, grip management, and rapid recovery between stations critical to passing.
Law enforcement testing often focuses on obstacle courses, sprint capacity, and upper-body power. Common assessments include the Physical Agility Test (PAT), the Work Sample Test Battery (WSTB), or the Police Officer Physical Abilities Test (POPAT). These tests simulate foot pursuits, suspect containment, and obstacle negotiation.
Typical law enforcement test components include:
EMS testing evaluates sustained lifting, patient handling, and mobility in confined areas. EMS physical assessments frequently evaluate:
Understanding your specific agency requirements is the initial step in training. Practicing without knowing the exact loads, times, and rules leads to misdirected effort.
A frequent error among candidates is attempting to build months of fitness in a matter of weeks. When testing dates approach, unconditioned candidates often dramatically increase their running mileage, perform daily maximum push-up sets, and simulate heavy drags multiple times per week. This approach causes structural failure before physiological adaptation can occur.
Understanding the difference between external and internal workload explains why rapid spikes fail:
When you rapidly increase external load, your internal load rises exponentially. Tendons, ligaments, and bone matrix adapt far more slowly than cardiovascular fitness. While your lungs and heart may adapt within three to four weeks, connective tissues require months of progressive mechanical loading to thicken and tolerate repetitive stress.
The International Olympic Committee consensus on training load highlights that rapid increases in workload relative to baseline preparedness are a primary driver of non-contact soft tissue injuries. Sports science guidelines often recommend limiting weekly volume increases to modest increments. While strict mathematical ratios should not be viewed as absolute injury prevention rules, sudden jumps in volume remain a clear warning sign of overtraining.
Sudden increases in running distance or stair stepping frequently cause:
A passing score on a physical test requires reserve capacity. If you must operate at your absolute physiological limit to pass, minor mistakes or fatigue will lead to failure. Preparing early creates a broad safety margin, letting you complete the test with controlled form, steady breathing, and lower injury risk.
A reliable training framework builds general capacity first, transforms that capacity into occupational movements, and finishes with a structured taper. This phased approach allows tissues to adapt while developing technical skill across each test event.
Before beginning intensive training, gather all testing criteria from your target agency. Identify whether testing requires specific footwear, protective gear, or mandatory orientation sessions.
Next, establish safe baselines using submaximal, low-risk assessments:
These assessments pinpoint your primary limitations so you can direct training time efficiently.
This phase builds the foundational aerobic base, joint stability, and general muscular strength required to support intense training later.
Key training targets during this phase include:
Using a minimum effective dose training approach during this phase ensures you make steady strength and endurance gains without accumulating excessive fatigue.
Once you tolerate baseline training, shift the focus toward higher-output physical qualities.
Progression variables in Phase 3 include:
bell swings, and heavy farmer walks.
Phase 4 translates physical capacity into specific test performance. Specificity is critical here, but do not turn every session into a maximal test simulation.
Use a step-by-step approach to master the test requirements:
The final phase reduces fatigue so you can express your built fitness on test day. Many candidates make the mistake of training harder during the final two weeks, arriving at the testing site with deep muscular fatigue and sore joints.
Meta-analyses on athletic tapering show that reducing training volume by 40 to 60 percent over a two-week period preserves fitness while shedding fatigue. Keep the movement specificity and exercise intensity relatively high, but cut the number of sets, repetitions, and total duration in half. Avoid introducing new exercises, new running shoes, or unfamiliar training tools in the final three weeks.
To review foundational conditioning concepts that support this structure, explore our duty fitness programming resources.
Cardiovascular conditioning for public safety tests involves a blend of running, climbing, and loaded stepping. Running and stair stepping are the most common causes of overuse injuries among recruits. To build capacity without causing joint inflammation, use structured progressions and cross-training.
Most of your cardiovascular conditioning should occur in the low-intensity aerobic zone, where you can speak in full sentences without gasping. This builds capillary density, strengthens your left ventricle, and improves mitochondrial efficiency. A wide aerobic base allows you to recover faster between intense test stations and clears metabolic byproducts during heavy physical output.
Incorporate low-impact modalities such as rowing, stationary cycling, or elliptical training for 30 to 50 percent of your conditioning. This develops cardiovascular capacity without repeatedly subjecting your knees, shins, and feet to ground impact forces.
Stair climbs with weighted vests are among the most demanding test events. The combination of concentric leg drive and loaded spinal compression quickly induces local muscular fatigue.
To progress safely on the stairs:
Once an aerobic base is established, add interval training once per week to build high-intensity work capacity.
Effective formats include:
Limit high-intensity intervals to one or two sessions per week. Excessive anaerobic conditioning drains the nervous system and impairs recovery from strength training.
A physical ability test is fundamentally a test of work capacity under external resistance. While running builds the engine, functional strength allows you to drag a 165-pound mannequin, raise ladders, and carry equipment safely.
Focus your strength sessions on multi-joint compound exercises that reinforce occupational movement patterns:
Grip fatigue is a primary cause of test failures, particularly during equipment carries, hose drags, and ladder extensions. If your hands fail, your large leg and back muscles cannot apply force.
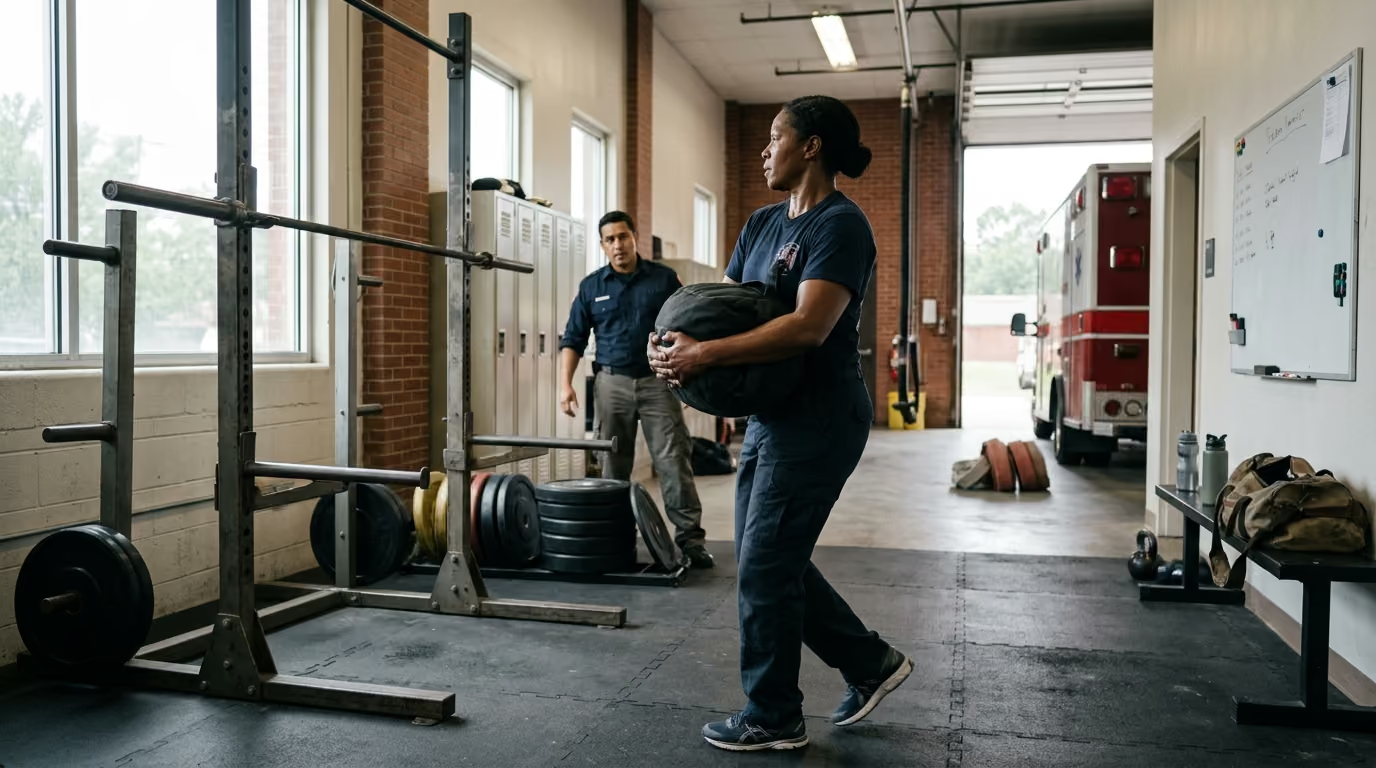
Incorporate loaded carries at the end of strength workouts two days per week. Avoid using lifting straps during preparation, as you need to build active hand and forearm durability.
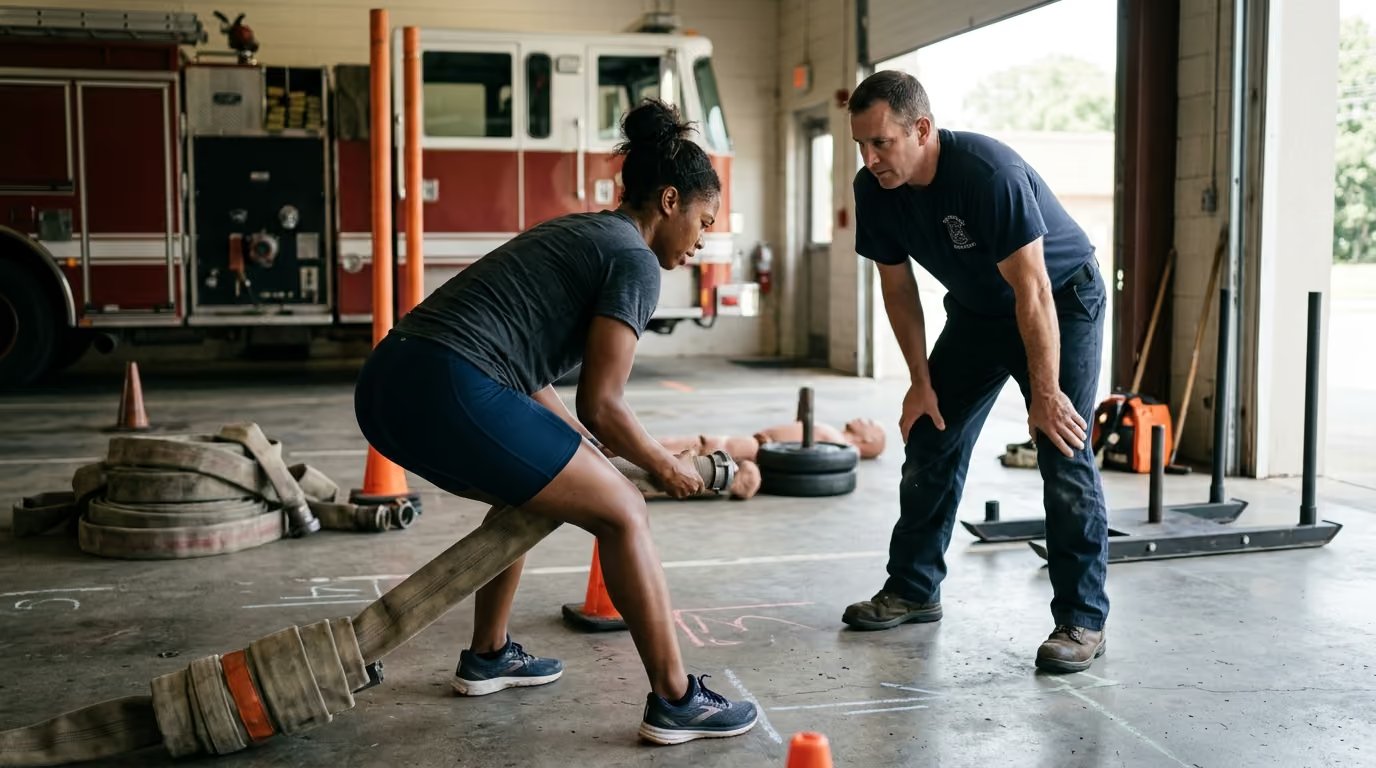
Simulating a rescue drag requires exceptional leg drive, hip extension, and trunk stiffness. Practicing only with a deadlift bar does not replicate the awkward backward friction of a rescue mannequin.
Use a heavy weighted sled to develop dragging mechanics:
For additional recovery protocols to balance these high-load strength sessions, review our injury prevention and physical recovery guide.
Current emergency personnel preparing for promotional or lateral tests face distinct recovery hurdles. Shift work, irregular sleep, call disruptions, and prolonged physical duty make rigid training templates difficult to follow.
Occupational fatigue is an active internal stressor. A 24-hour shift featuring multiple night runs, structure fires, heavy lifting, or extended driving drains physical capacity. Attempting a high-intensity interval session or heavy leg workout immediately after a broken night on duty increases injury risk.
Candidates should adapt their training around shift rotations:
Using a readiness-based training model allows you to alter workout intensity based on real-time fatigue instead of forcing maximal efforts while exhausted.
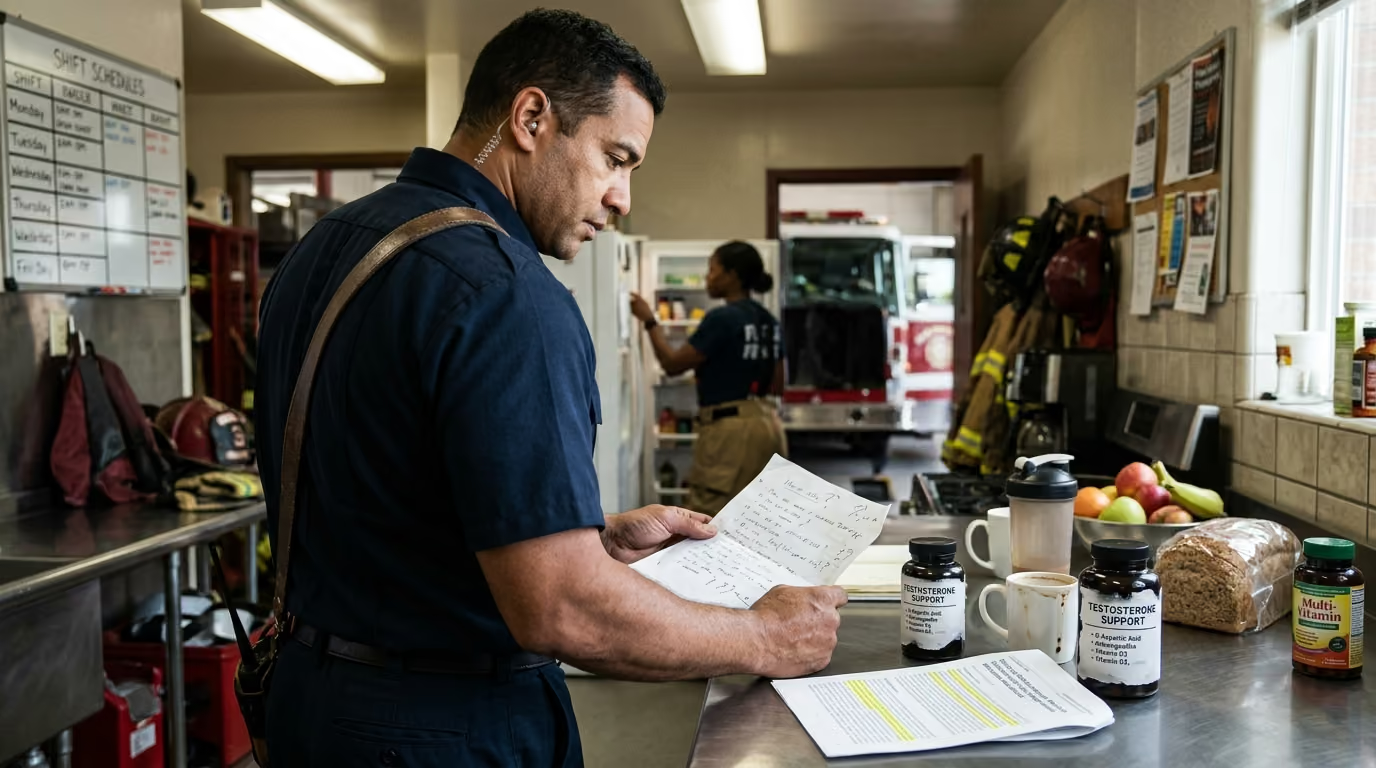
Preparing for high-output tests requires thoughtful fueling. Severe caloric restriction or dehydration severely limits performance and slows muscle recovery.
To better balance demanding shifts with conditioning, read our guide on training around irregular shift schedules.
Monitoring your physical response to training ensures that minor soreness does not turn into a career-delaying injury. A practical traffic-light monitoring system helps you make objective training decisions.
Use this framework before each workout:
Test failures frequently stem from poor pacing rather than a lack of physical capacity. Candidates often let adrenaline take over on the initial station, spiking their heart rate into maximum anaerobic zones within the first two minutes. Once severe metabolic acidosis sets in, power output plummets, grip fails, and simple tasks become overwhelming.
Develop a clear pacing strategy during Phase 4 training:
Preparing for an emergency service test places meaningful stress on your cardiovascular and musculoskeletal systems. While minor muscle soreness is an expected part of training, certain symptoms require formal medical attention.
Consult a licensed healthcare professional if you experience:
Working with an accredited physical therapist, athletic trainer, or certified strength and conditioning specialist can help identify movement restrictions, adjust training mechanics, and safely rehabilitate nagging injuries before testing day.
If you have a short preparation window, do not attempt to cram months of high-volume training into a few weeks. Prioritize movement efficiency, pacing, and submaximal practice of the specific test events. Focus on low-impact cardiovascular conditioning to maintain joint health, practice steady breathing during task transitions, and begin tapering your volume 10 to 14 days before the test. Your primary goal is to arrive at the test healthy and uninjured so you can express your current capability.
No. Introducing heavy, heat-retaining protective gear or heavy weighted vests too quickly places excessive stress on your spine, knees, and ankles. Begin all conditioning and strength training with bodyweight or light loads to establish sound movement patterns. Gradually introduce a 10-to-20-pound vest during Phase 3, and reserve full-weight gear practice for controlled, event-specific rehearsals in Phase 4.
Grip failure indicates that your forearms lack the muscular endurance to match your leg and hip power. Integrate loaded carries, thick-rope pulls, and active hangs into your routine two to three times per week. During the test, focus on grip economy by holding handles with a secure but relaxed grip rather than white-knuckling tools, and ensure your hands are dry before starting grip-intensive stations.
Passing individual events when fresh does not account for cumulative physiological fatigue. Sequential stations demand continuous aerobic output and rapid metabolic clearance while moving between tasks. To bridge this gap, practice pairing two or three stations together in Phase 4 before attempting full-course runs. This conditions your body to execute complex physical tasks under progressive fatigue without breaking down mechanically.
The most reliable path to passing a physical ability test is progressive preparation that respects tissue adaptation. By building broad physical capacity early, mastering event-specific mechanics, and tapering fatigue before test day, you ensure long-term career durability and operational capability.
Stay connected for research-led guidance on duty fitness, shift-work sleep, injury recovery, stress, nutrition and career longevity. Practical ideas for first responders who want to stay capable on the job, recover well and protect their health for the long run.



Read practical guidance on first responder fitness, recovery, sleep, nutrition and resilience for demanding work and a long, active career.
read the blog