
Asymmetries between 5% and 15% are normal adaptations for first responders, making targeted unilateral strength training essential to manage occupational demands safely.





The human body is not built to be perfectly symmetrical, and emergency services do not reward anatomical perfection. First responders spend entire careers operating in unbalanced environments. Police officers carry several pounds of gear mounted unevenly around their waists. Firefighters drag charged hose lines while rotating through the same side of their torso. Paramedics repeatedly step out of the same side of an ambulance while carrying heavy jump bags in their dominant hand.
Attempting to force both sides of the body into identical mathematical balance is unnecessary and counterproductive. Interlimb differences between 5% and 15% are common across healthy working populations. Current research does not support the idea that minor side-to-side differences automatically trigger injuries or reduce operational readiness.
The primary purpose of unilateral training is not to build identical limbs. The real objective is operational sufficiency. You need to ensure each limb possesses adequate strength, control, and fatigue resistance to manage demanding calls. Unilateral training identifies major deficits, prevents existing imbalances from worsening, and builds stability under shifting, real-world loads.
Interlimb asymmetry describes the percentage difference in performance or capacity between your left and right sides. This difference can appear in force production, movement speed, joint range of motion, balance, or fatigue resistance. A standard measurement is the limb symmetry index, which compares the score of the weaker limb against the stronger limb. A score of 90% indicates a 10% difference between sides.
Sports science and occupational health literature provides a nuanced view of these numbers. For years, popular training culture claimed that any difference over 10% was an immediate injury risk. Systematic reviews investigating lower-limb asymmetry and injury risk show that this relationship is inconsistent across different tasks. Some studies associate jumping or hopping asymmetries above 10% with higher rates of lower-extremity strains. Other investigations show no relationship between measured asymmetry and subsequent injury rates.
Asymmetries ranging from 5% to 15% are typical in active populations and often represent normal adaptations to dominant-side tasks. Evidence shows that reductions in asymmetry do not automatically translate to improved athletic or tactical performance. Both bilateral lifting and single-limb training can narrow side-to-side differences, with unilateral training showing a slightly stronger corrective effect.
Measurement error also complicates the interpretation of symmetry scores. Day-to-day testing variations, warm-up quality, and fatigue can create false signs of progress or decline. Clinical studies show that the minimal detectable change for single-leg strength testing can range from 15% to 25%. A small change on a single gym test often reflects normal testing noise rather than true structural change.
First responders rarely work under symmetrical conditions. Operational tasks demand sudden force production from awkward, rotated, or restricted positions. These occupational exposures reinforce physical differences over time.
Turnout gear and breathing apparatus fundamentally alter joint mechanics. Motion-capture research on firefighters shows that structural firefighting gear increases trunk muscle activity and hip joint reaction forces during common fireground tasks. Biomechanical data reveals that equipment carries and hose drags create asymmetrical force profiles across the lower extremities. Left-knee joint torques are often significantly higher during loaded walking drills, while upper-body pulling power tends to favor one side during heavy dragging tasks.
Ambulance and patrol vehicle designs reinforce these movement biases. Paramedics and EMTs mount and dismount vehicles hundreds of times each week, routinely stepping down on the same lead leg. Over time, this repetitive impact places asymmetrical stress on the lead knee, hip, and ankle.
Musculoskeletal disorders account for nearly half of all non-fatal duty injuries among emergency medical personnel and firefighters. Patient lifting, uneven equipment carries, and awkward extrications remain primary drivers of sprains and strains. Heavy duty belts worn by law enforcement officers concentrate load around the pelvis and lower back, often encouraging altered seated postures during long driving shifts. Incorporating short, effective training doses focused on single-limb strength helps offset this repetitive seated strain.
When an asymmetry appears during duty or training, you must determine its root cause. Asymmetries generally fall into two broad categories: capacity deficits and strategy differences.
A capacity deficit means one limb lacks the physical capability of the other. The weaker limb generates measurably less force on an isolated press, shows reduced stability on a step-down, or fatigues much faster during repeated carries. True capacity deficits often emerge following an acute injury, surgery, or prolonged joint immobilization.
A strategy difference occurs when a responder possesses equal strength in isolated tests but defaults to an asymmetrical movement pattern during work. A firefighter might always lead with the right leg when climbing stairs because their air pack sits slightly off-center. A paramedic might always pull a stretcher with the right arm out of pure habit.
Physical asymmetries can also be structural, functional, or occupational. Structural differences include anatomical leg-length discrepancies or bony adaptations from past fractures. Functional differences involve modifiable components like muscular strength, balance, and soft-tissue mobility. Occupational differences represent movement habits created directly by the physical constraints of equipment and apparatus.
Testing must separate these elements. A responder who shows flawless symmetry on a bilateral barbell squat may display significant hip collapse during an uneven suitcase carry. Evaluating movement through single-limb drills reveals whether a limitation stems from true weakness or simply an ingrained operational habit.
Field-based testing should be simple, repeatable, and directly tied to occupational demands. You do not need expensive force plates to gather meaningful information about single-limb function. A structured four-part assessment battery provides clear insight into movement quality, strength, and fatigue resistance.
Begin by documenting occupational habits and past injuries. Track which hand carries primary tools, which side bears heavy medical bags, and which leg leads during vehicle exits. Record previous joint sprains, fractures, or persistent soft-tissue aches. This audit helps explain why certain functional differences exist before you begin physical testing.
Observe movement quality without heavy external loads. Perform the following screens on both sides and look for clear differences in joint alignment or balance:
Once basic movement control is verified, evaluate single-limb force output. Standard gym equipment provides sufficient data for this stage:
Asymmetry often remains hidden when you are fresh, only appearing as duty fatigue accumulates. Assess how single-limb stability holds up under sustained physical effort:
An effective unilateral training program should cover multiple planes of movement and varied loading methods. Rather than relying on a single favorite exercise, select movements from distinct operational categories to build well-rounded operational duty fitness.
Knee-dominant single-leg exercises build the deceleration strength and quad capacity required for stair climbing, roof operations, and controlled descents.
Setup Tip: During split squats, maintain an active foot tripod. Keep equal pressure through the base of the big toe, pinky toe, and heel to stabilize the knee.
Hip-dominant unilateral movements target the glutes and hamstrings while challenging pelvic rotation control. These movements directly support heavy lifting and patient transfers.
Setup Tip: When performing single-leg deadlifts, keep the hips square to the floor. Avoid rotating the pelvis open toward the non-working side as you hinge.
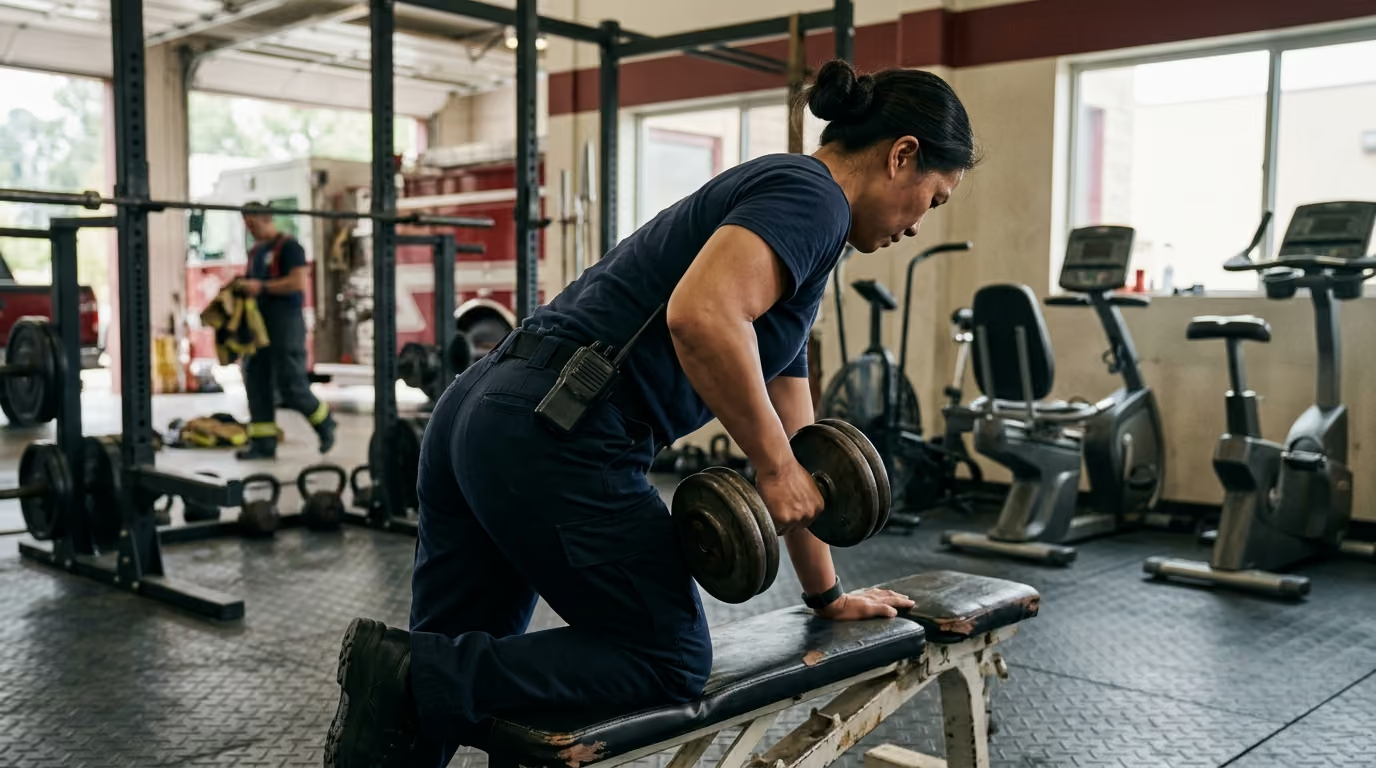
Unilateral upper-body work challenges the shoulder stabilizers and forces the core to resist rotational forces.
Setup Tip: In half-kneeling pressing variations, squeeze the glute on the kneeling side. This stabilizes the pelvis and prevents you from leaning backward to press the weight.
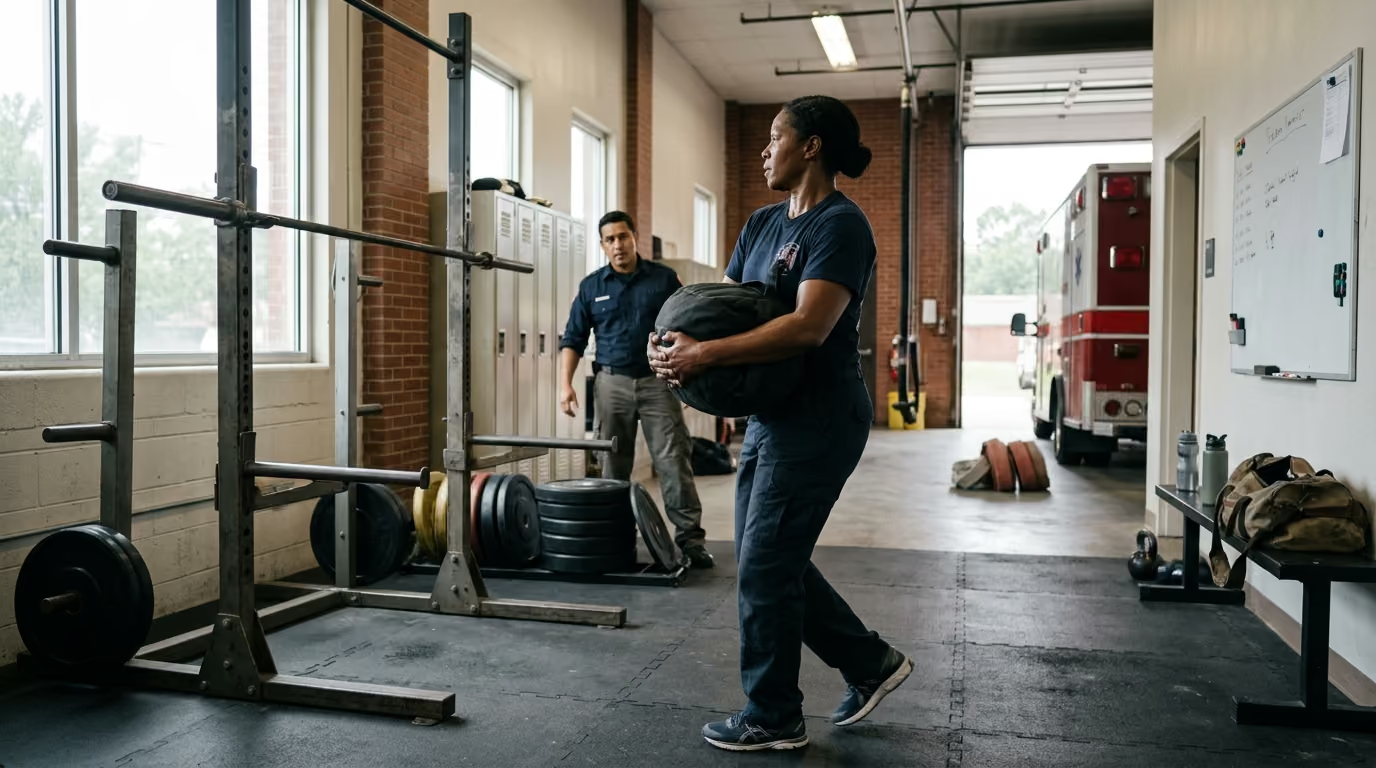
Carries bridge the gap between static gym lifting and dynamic fireground movement. They develop high levels of grip endurance and lateral trunk stiffness.
Setup Tip: Walk with a slow, deliberate cadence during offset carries. Avoid letting the weight bounce against your outer thigh or allowing your shoulder to shrug toward your ear.
Correcting a functional asymmetry requires patience and structured loading. Adding massive amounts of extra volume to a weaker side often backfires, creating localized overuse injuries in tissues that are already struggling to recover.
Choose one of three practical loading methods depending on the severity of the difference:
Increase training loads gradually. Limit lower-body volume and intensity increases to approximately 5% to 10% per week. When programming around rotating shifts, schedule heavier unilateral sessions during off-duty recovery windows rather than immediately following demanding night shifts.
First responders often fall into predictable traps when attempting to address physical imbalances. Avoiding these common mistakes keeps your training productive and injury-free.
Do not obsess over minor side-to-side differences. A 7% strength difference in single-leg pressing is normal human variation. If a movement feels smooth, stable, and completely pain-free, do not waste valuable training time trying to force a 0% difference.
Standing on foam pads, wobble boards, or balance balls significantly reduces the external load you can safely lift. While unstable surfaces challenge foot proprioception, they do not build the raw muscular strength needed to drag a victim or lift heavy equipment. Build single-leg stability on solid ground using challenging weights.
Unilateral training is a vital complement to bilateral training, not a total replacement. Bilateral barbell squats, deadlifts, and overhead presses remain unmatched for developing total-body force output and bone density. Blend both styles into your weekly program.
Operational breakdowns occur when responders are fatigued, hot, and out of breath. A split squat that looks pristine at the start of a workout may deteriorate into heavy knee valgus after twenty minutes of hard work. Periodically test your movement mechanics under mild, controlled cardiovascular fatigue to see how your body actually responds.
You cannot out-train a terrible workstation or reckless operational habit. If your duty belt is poorly arranged, rearrange your pouches to distribute weight more evenly. If you always step out of the rescue vehicle with your right leg, deliberately practice using the left leg during routine non-emergency responses. Pair physical training with smart daily habits to protect your long-term career longevity.
Shift work, interrupted sleep, and high call volumes make recovery unpredictable. When fatigue runs high, your nervous system struggles to maintain fine motor control during complex single-leg exercises.
On days following heavy night shifts or multiple structural calls, reduce exercise complexity. Replace free-standing single-leg Romanian deadlifts with kickstand deadlifts or single-leg leg presses. This allows you to train the lower body without risking a balance-related stumble or joint strain. Mastering the art of adjusting training volume based on fatigue ensures continuous physical progress across a 25-year career.
While minor muscular differences respond well to standard strength training, certain symptoms require professional medical evaluation. Never attempt to push through sharp pain or progressive joint instability in the gym.
If you have a history of major joint surgery, such as an ACL reconstruction or shoulder repair, consult with a licensed physical therapist. A qualified sports or occupational clinician can run specialized dynamometer testing to establish safe return-to-duty benchmarks. Structured rehabilitation should always precede aggressive single-limb loading when recovering from structural injuries.
Unilateral training provides a practical framework for identifying and correcting side-to-side physical differences before they impact job performance. By incorporating split squats, single-arm presses, hip hinges, and offset carries into your weekly routine, you build a resilient body capable of handling unpredictable duty environments.
Do not waste time chasing perfect mathematical symmetry. Focus instead on developing adequate strength, stability, and endurance across both sides of your body. Build a physical foundation that allows you to perform your duties safely, protect your crew, and enjoy a healthy, active retirement.
Sustainable operational capability comes from building sufficient strength and stability in every limb rather than chasing perfect physical symmetry.
Stay connected for research-led guidance on duty fitness, shift-work sleep, injury recovery, stress, nutrition and career longevity. Practical ideas for first responders who want to stay capable on the job, recover well and protect their health for the long run.


Read practical guidance on first responder fitness, recovery, sleep, nutrition and resilience for demanding work and a long, active career.
read the blog